中文版:Project Miata – 问题百出的刹车维护 – Frank’s Weblog
I recently replaced the brake rotors and pads on my Miata. Although neither the rotors nor the pads were worn down to the point of needing replacement, I was experiencing vibration when braking at high speeds, likely due to rusted or warped rotors. So, I decided to replace all the rotors and pads on the car. Additionally, the brake fluid tested at 3% moisture content. While it’s not critical, the color indicated it hadn’t been changed in a very long time, so this was a good opportunity to do a complete flush.

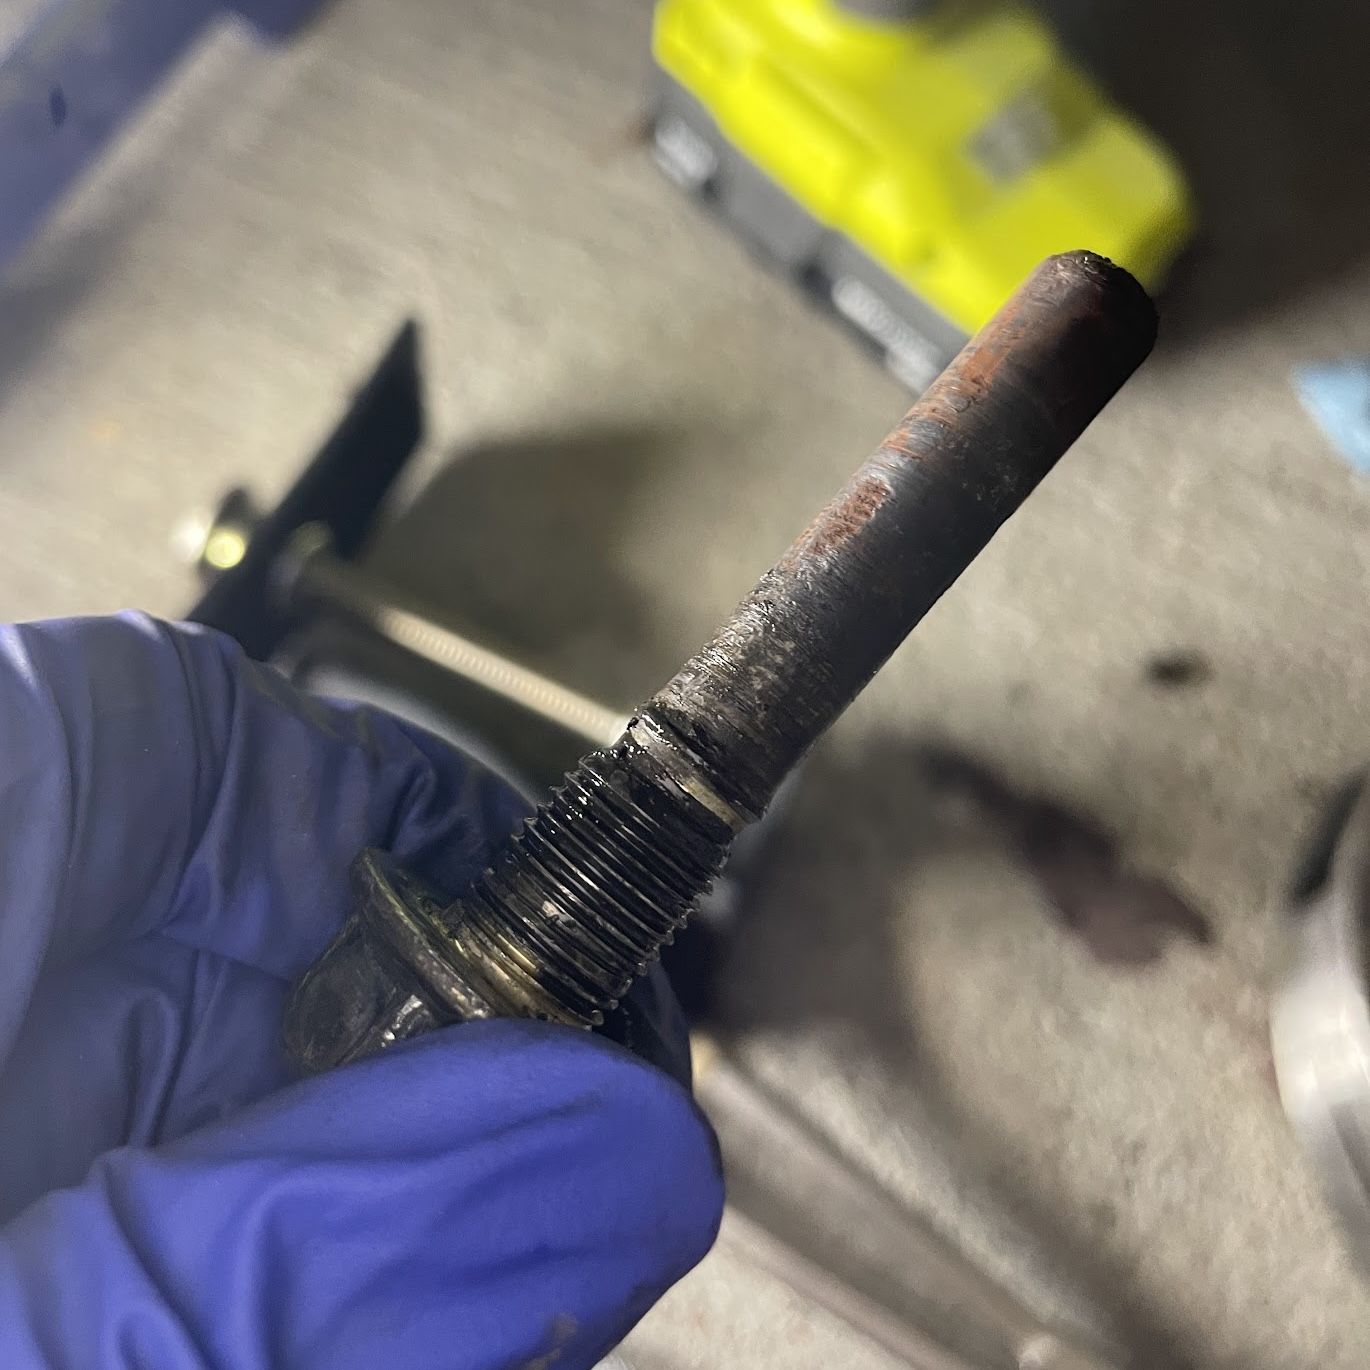
The front wheels were generally straightforward. This was partly because they don’t involve the extra mechanism for the handbrake, and partly because you can turn the steering wheel to get better access. Both front wheels went smoothly. The only issue was that one of the caliper slide pins was stuck. It would spin but wouldn’t come out. After spraying it with WD-40 and letting it sit overnight, I successfully removed it with a power tool the next day. It seemed to have seized up due to a lack of lubrication, causing it to rust.
The rear wheels, however, were full of problems. I started with the rear left (driver) side. The first issue was that this caliper was leaking. The leaking brake fluid had already corroded the paint on the wheel.

Another problem was that the caliper piston wouldn’t retract. On a Miata, the rear caliper piston is adjusted by turning a gear driven by a allen wrench (the front ones are just pushed back with a tool). This mechanism is used both to retract the piston to accommodate new, thicker rotors and pads and to adjust the handbrake. For a detailed explanation, see: Miata Rear Calipers Rebuild for PENNIES 🛠️ DIY – YouTube
If the allen wrench can’t retract the piston, it means there’s a problem with the piston itself or its internal mechanism, likely requiring a replacement or a rebuild. I had no choice but to put the old brake pads back on and find a time to replace this caliper later.
Attempt #1
I first bought a remanufactured caliper from a website. I didn’t test it before installation. After putting it on, I realized something was wrong—this new caliper’s piston wouldn’t turn either.
I was completely baffled as to why a newly purchased caliper would have the exact same problem. I started to suspect I was doing something wrong, but I used the same method to adjust the right (passenger) side piston without any issues. I studied YouTube videos on caliper disassembly—the internal mechanism isn’t complicated. This convinced me my procedure was correct, but I still couldn’t figure out what was the problem.
Attempt #2
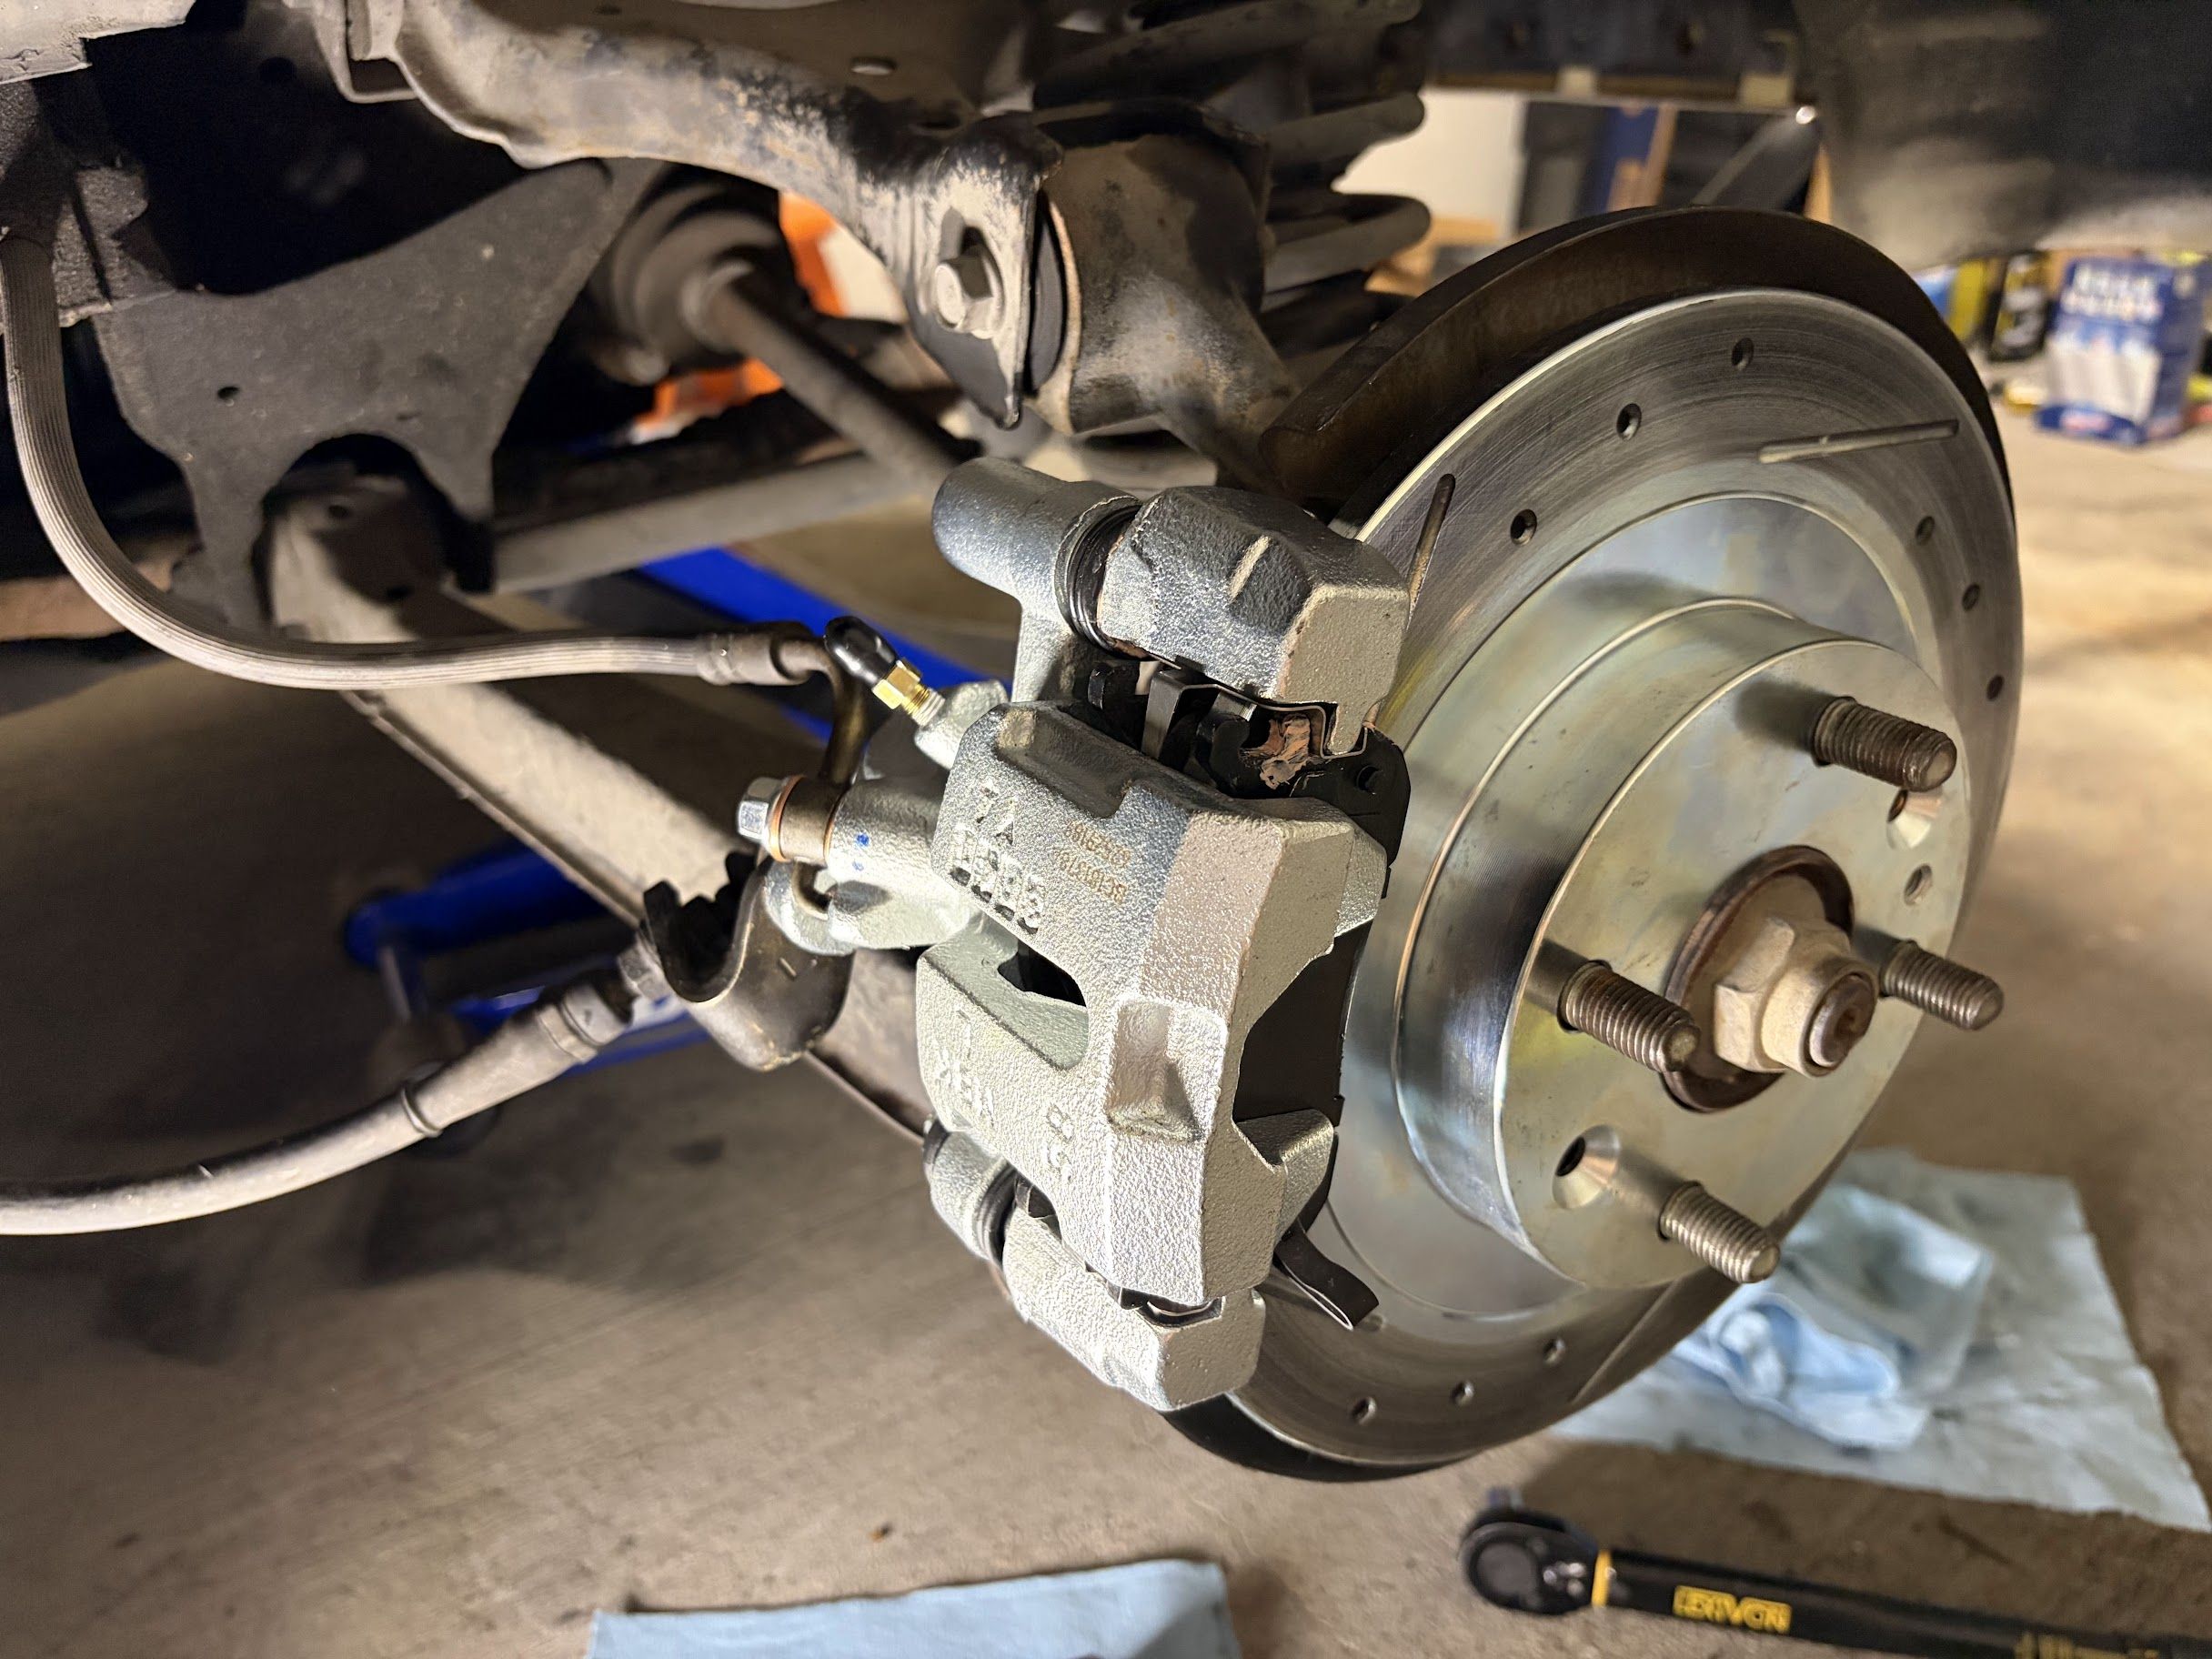
After struggling all night with no progress, I ordered an aftermarket caliper from Advance Auto Parts for next-day pickup at a nearby store. After picking it up, I tested the piston adjustment and it worked fine. Because some reviews mentioned the caliper bracket didn’t fit, I specifically compared the old and new brackets. They looked completely identical, so I figured it was fine and proceeded with the installation.
This installation went very smoothly, then I bled the brakes. I installed Flyin’ Miata Speed Bleeders, they worked great.
Attempt #3
When I put everything back together and went for a test drive, I immediately noticed something was wrong. There was much more resistance than usual, similar to the feeling of the handbrake being engaged. At first, I thought maybe the piston position wasn’t adjusted correctly, but as I started driving, I heard a loud grinding noise coming from the left rear wheel. I knew something was wrong and immediately turned around and headed home.
Back home, I disassembled and inspected everything, but found no issues. The piston position was correct, and the rotor spun freely by hand. Then, I accidentally discovered that if I threaded a lugnut onto the stud to secure the rotor, it would no longer spin.
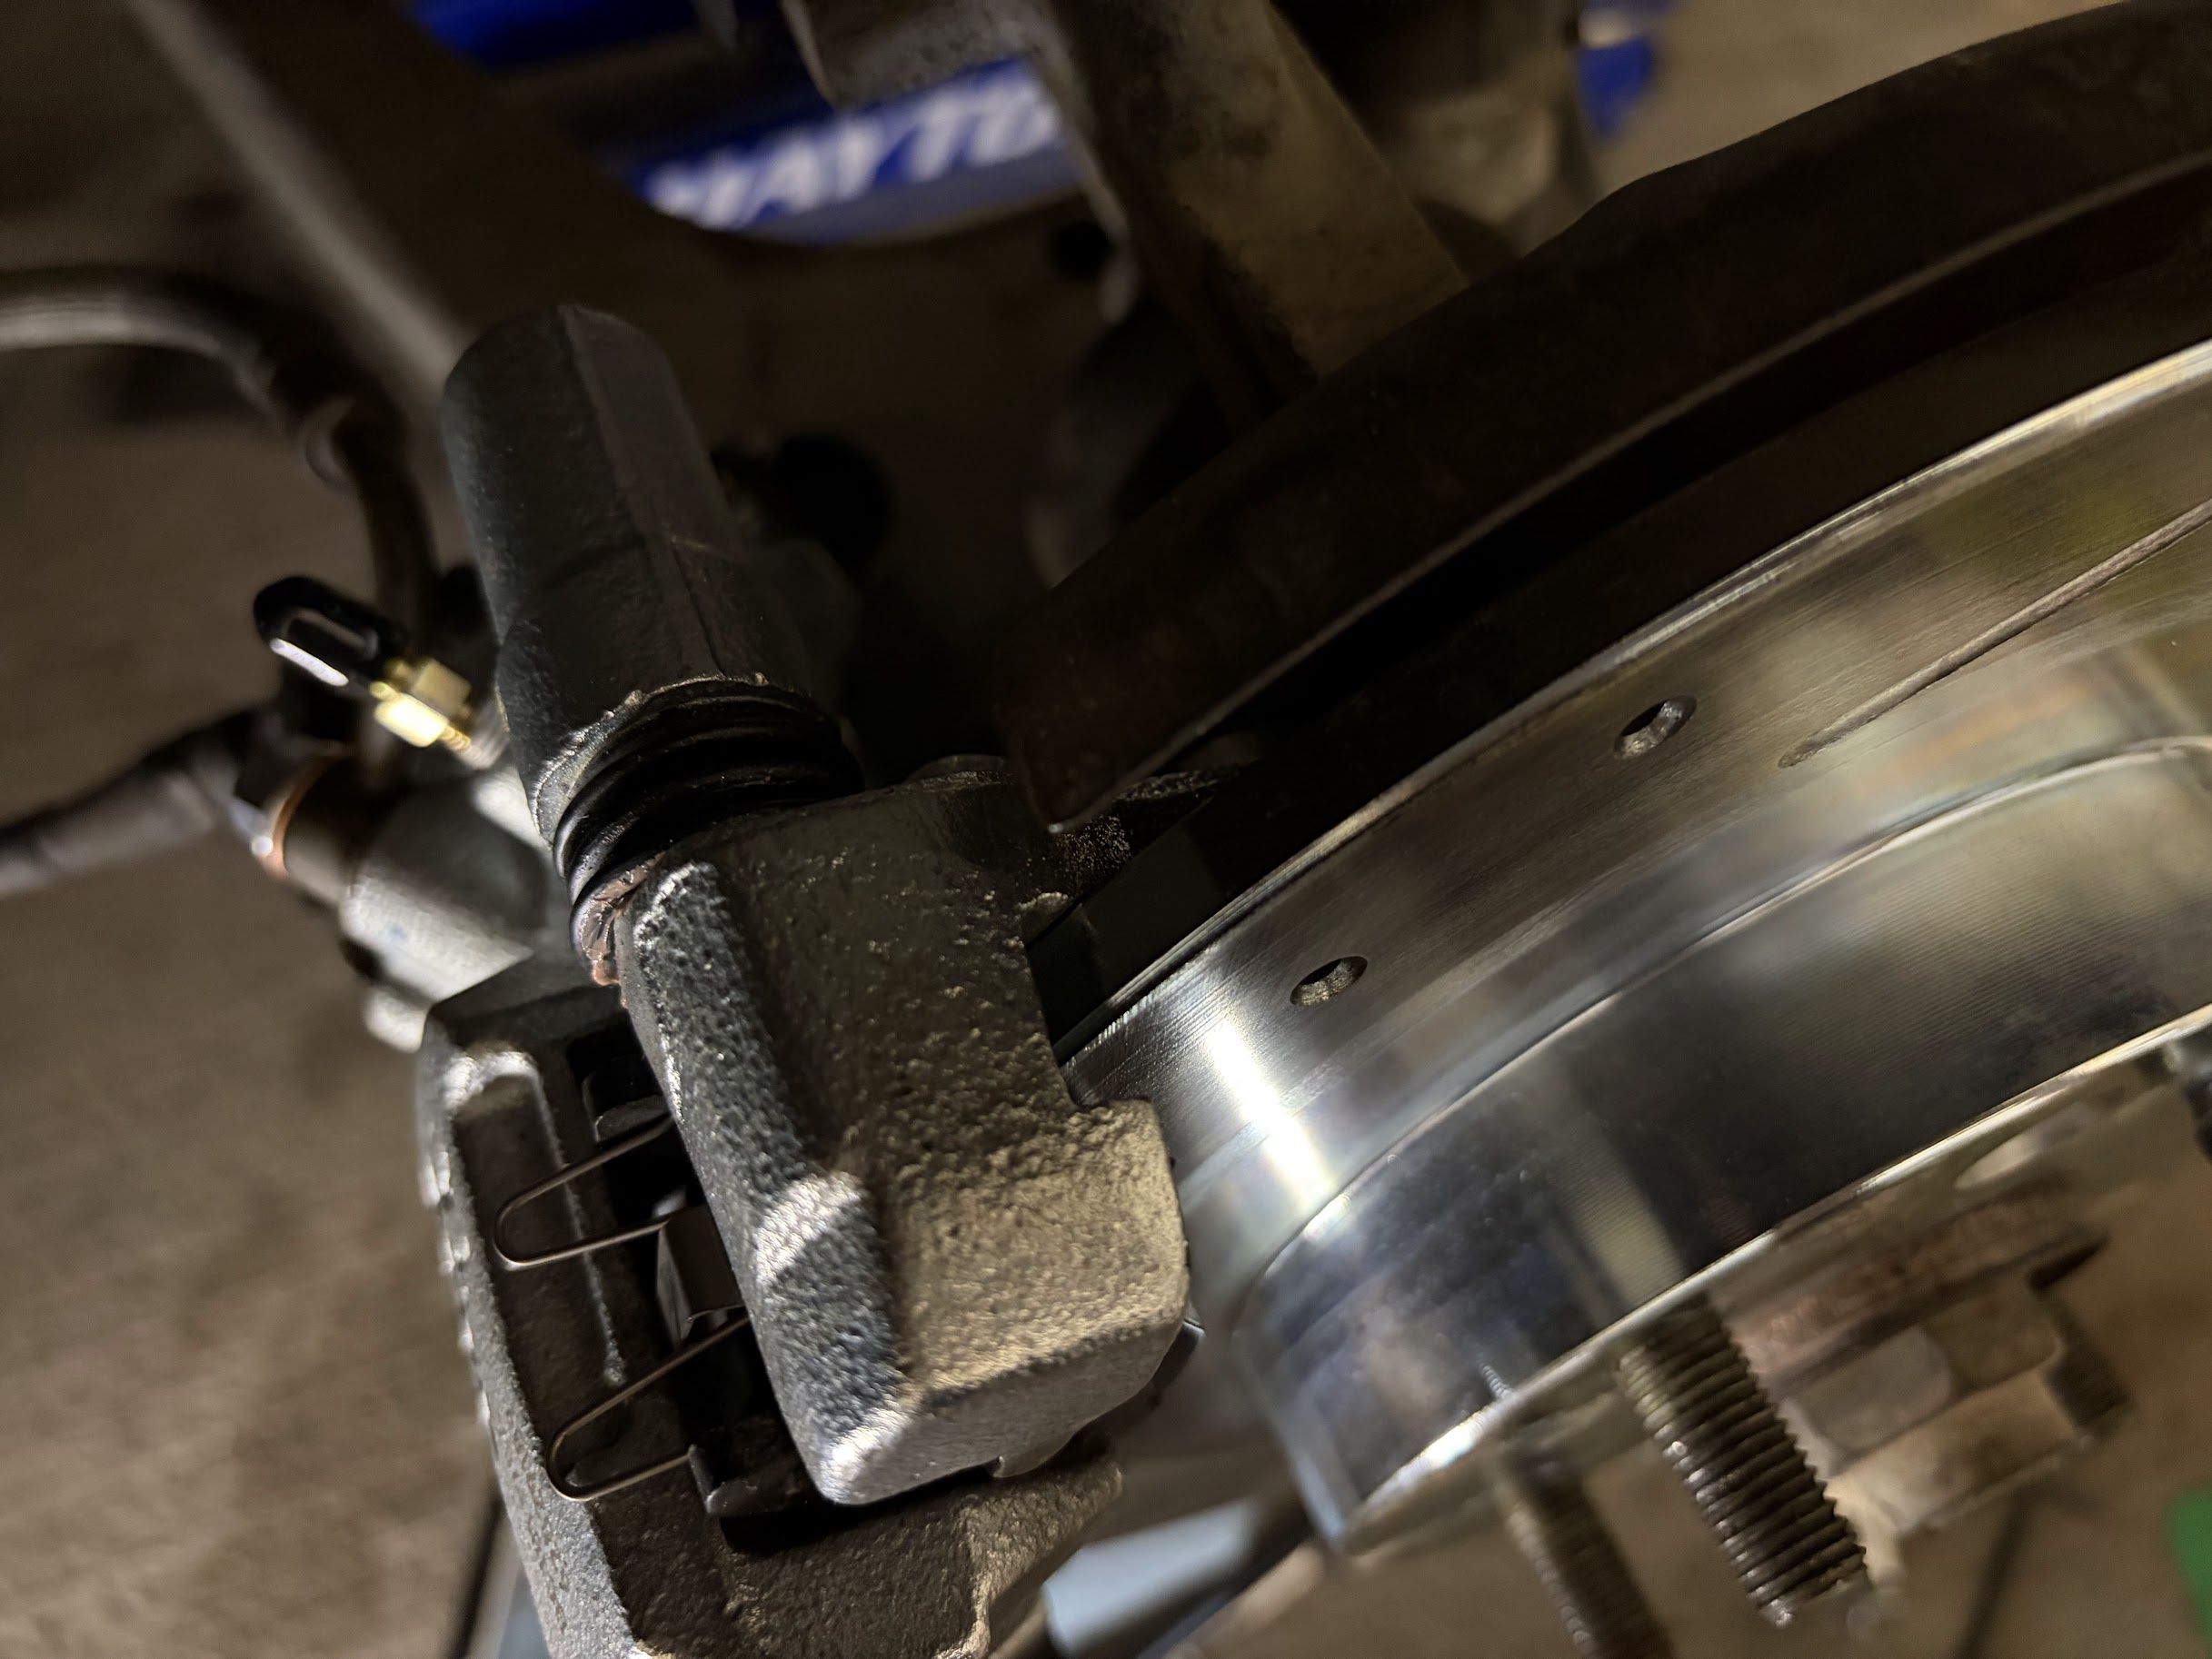
That’s when I realized the problem was the bracket. Even though this new bracket looked identical to the original, there was a subtle difference. When the lugnut was tightened, the inner side of the brake rotor was hitting the edge of the bracket, causing it to grind constantly while driving.
The worst part is that this problem is impossible to detect during installation. You only find it after the wheel is mounted, tightened down, and go for a test drive, unless you have the habit of securing the rotor with lugnuts during the installation.
So, I had to take the whole assembly apart again and swap in the original bracket.
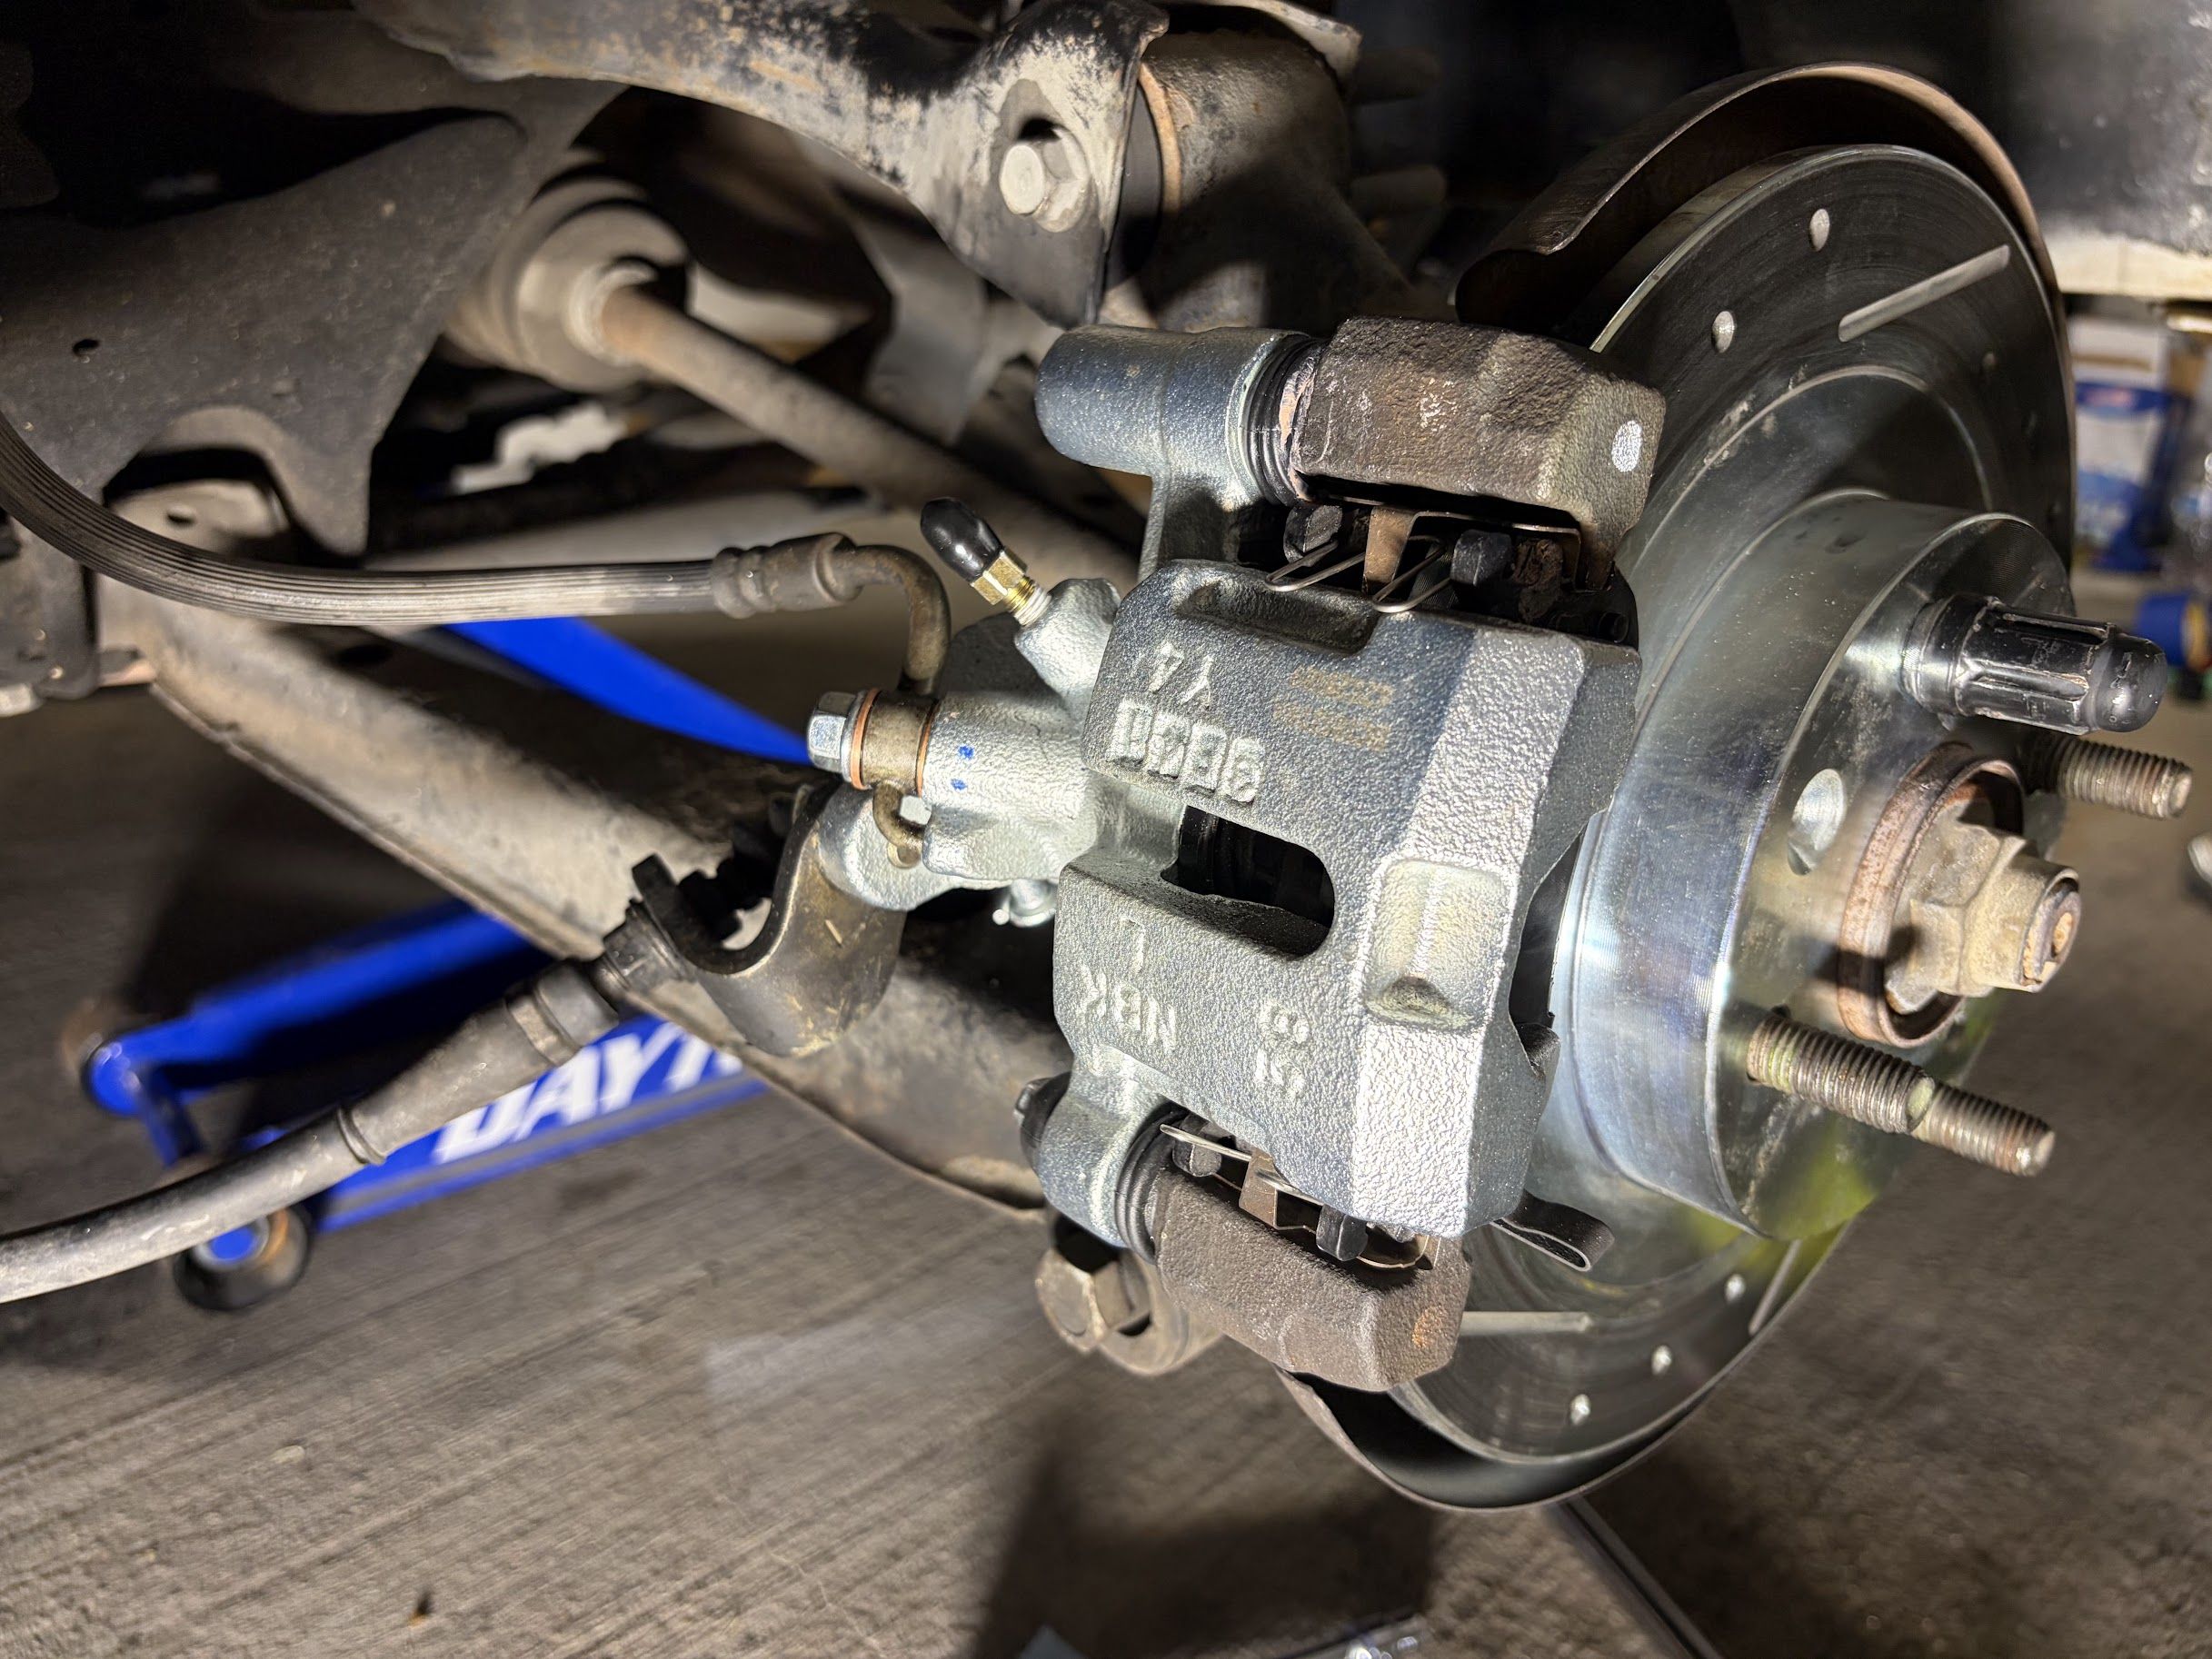
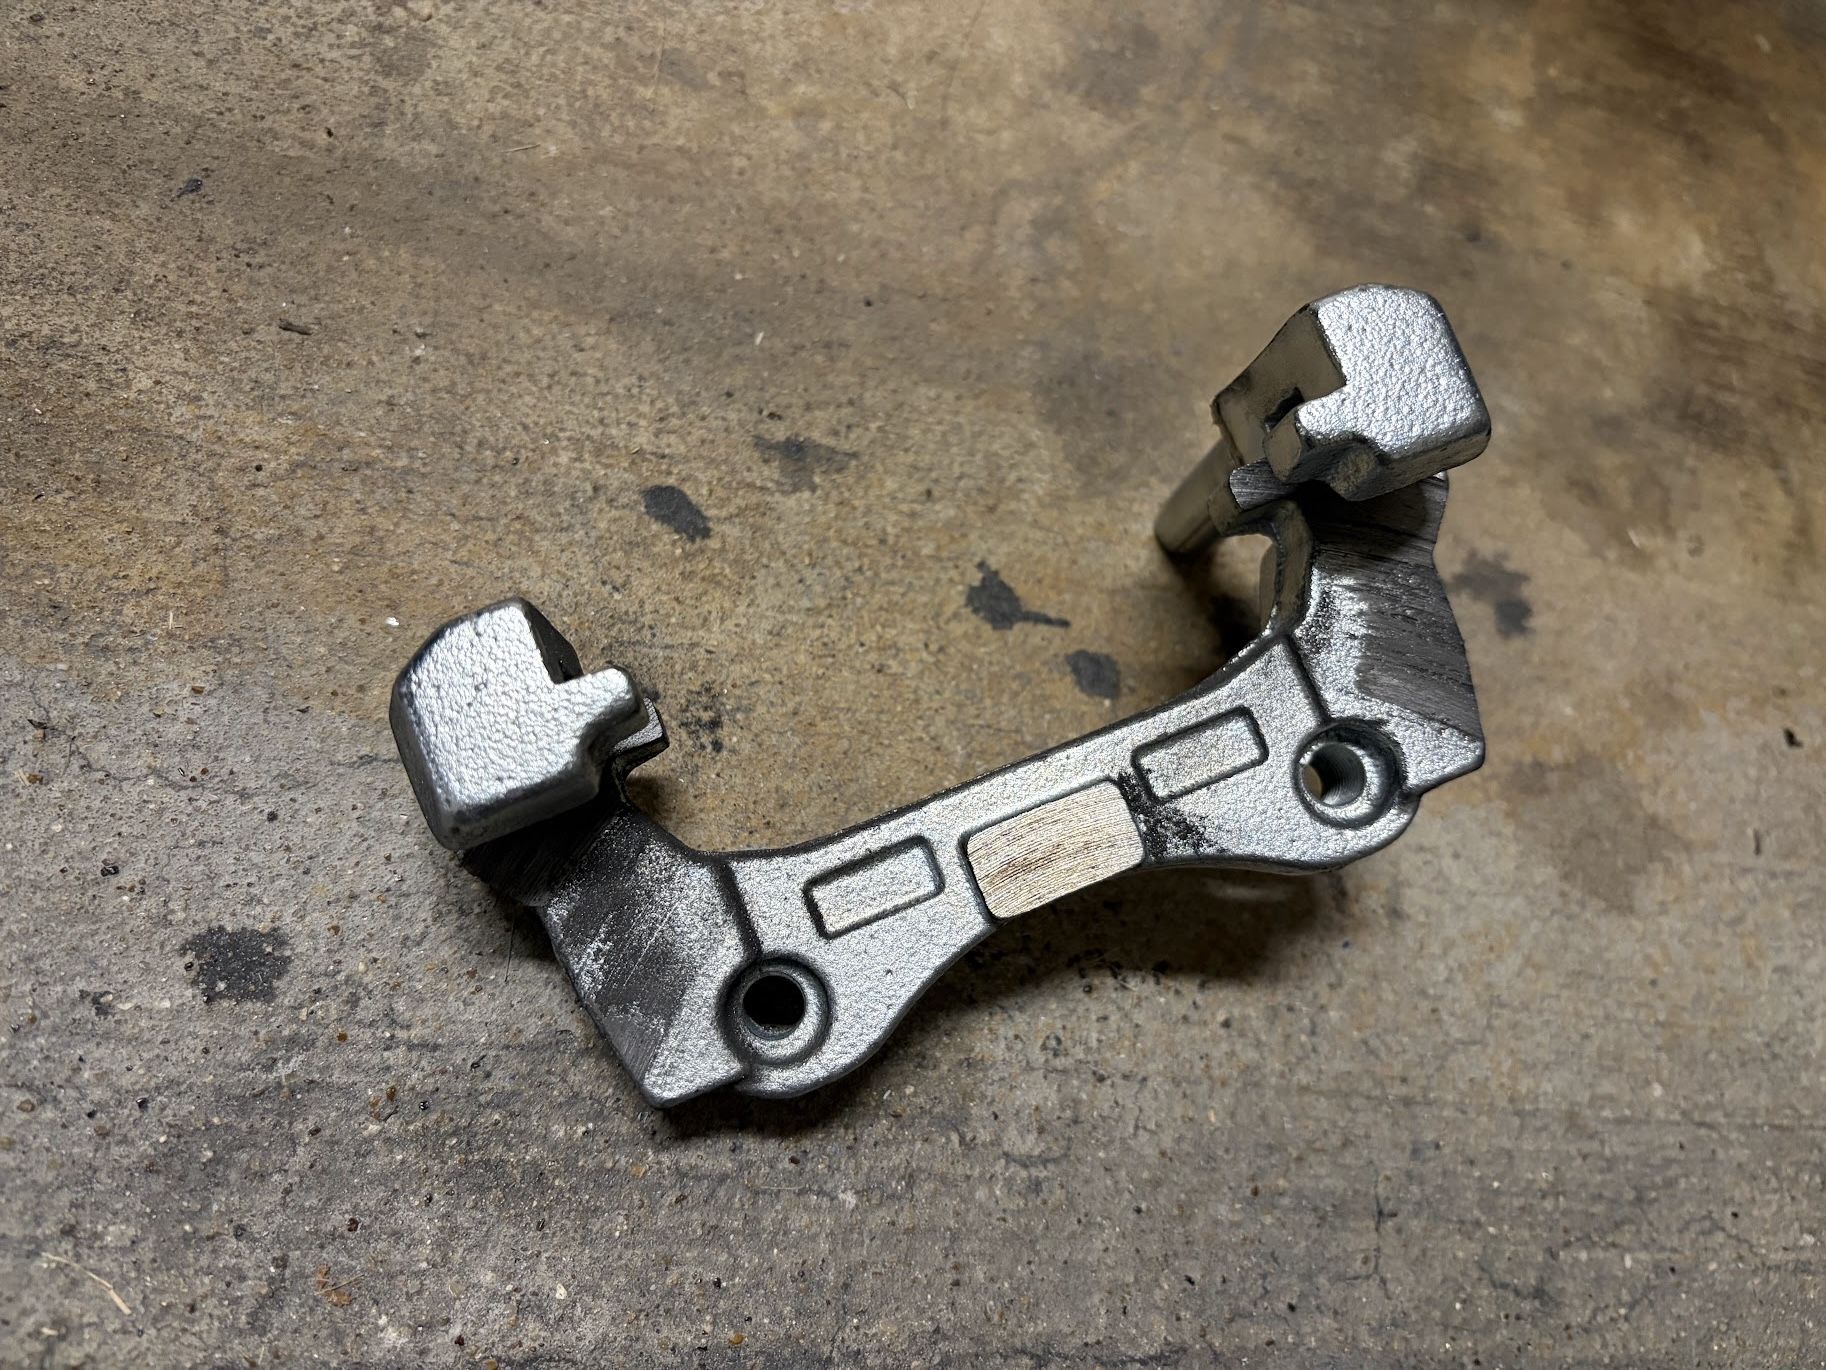
You can see the obvious grinding marks on the back of the bracket I removed.
Finally, I reassembled everything one last time, test drove it, and confirmed the problem was gone.

发表回复/Leave a Reply