中文版: Project Miata – 软顶更换及内饰修复 – Frank’s Weblog
Working on an old car is like playing an RPG game—the goal seems straightforward, but each step leads to new tasks. This time, I needed to clean and repair the interior of this Miata. My original plan was to:
- Replace the soft top
- Clean the seats
- Clean the carpets and interior
- Clean the trunk
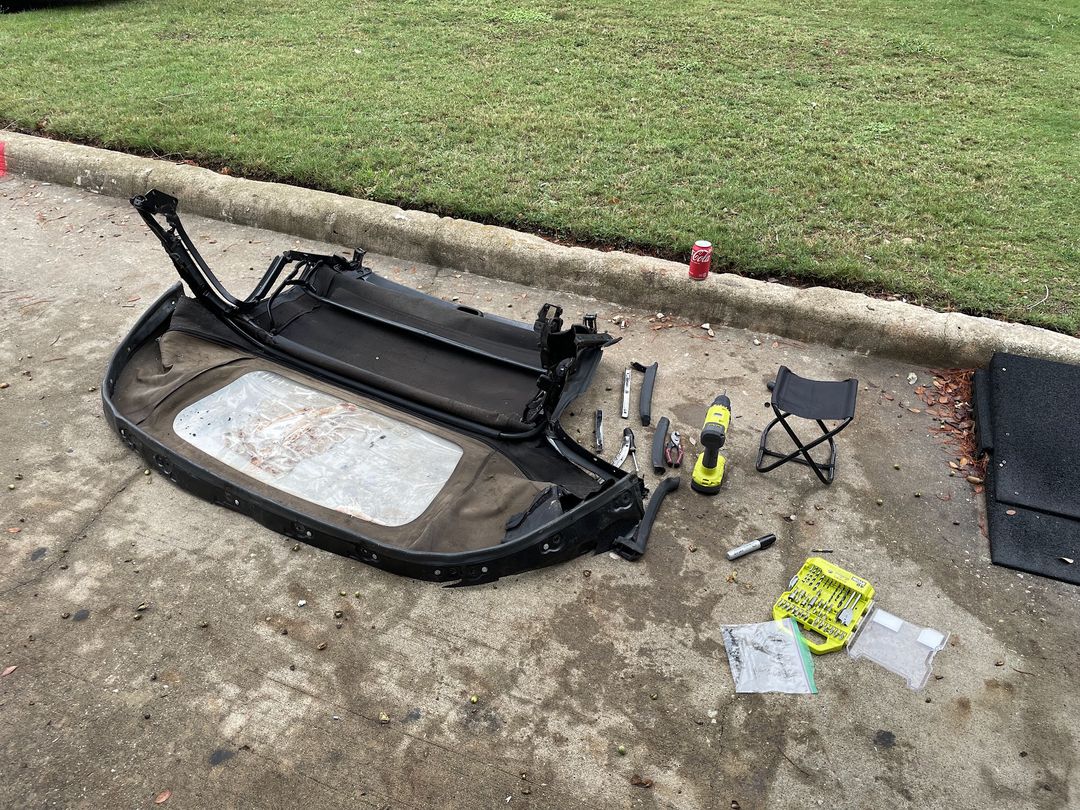
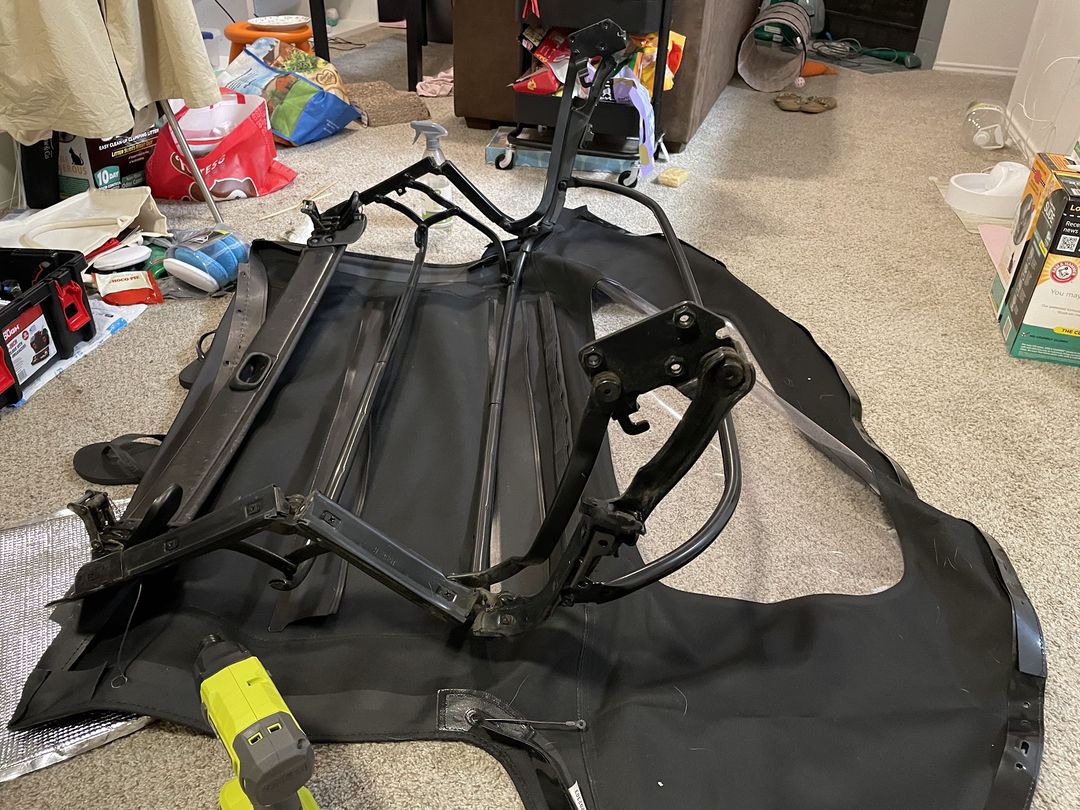
Soft Top
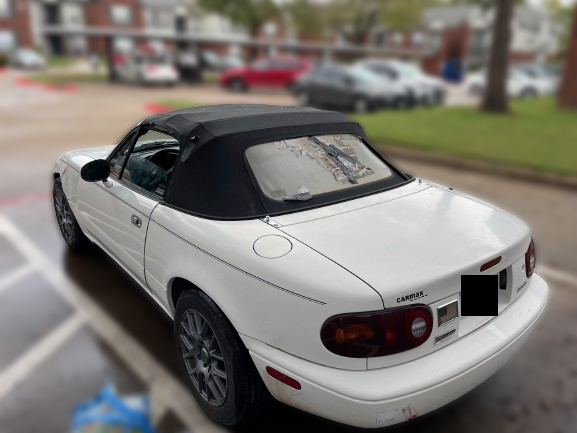
Replacing the soft top was a prerequisite for cleaning the interior. The soft top was very old and leaky, it can cause a lot of problems like rust and mold. Additionally, the plastic rear window had aged and blurred, making it impossible to see through, it’s not safe for driving.

Seat
The original plan was simple — remove the seats, clean seats using extractor vacuum, vacuum the carpet, put everything back. However when I removed the seats I found the seat pan was very rusted. It’s still repairable at this point but it won’t take too long before the it becomes completely rusted through and becomes beyond repairable. Many interior metal parts in the Miata are not painted, and even in the dry climate of North Texas, they can rust over time. I don’t quite understand why Mazda chose to do this.
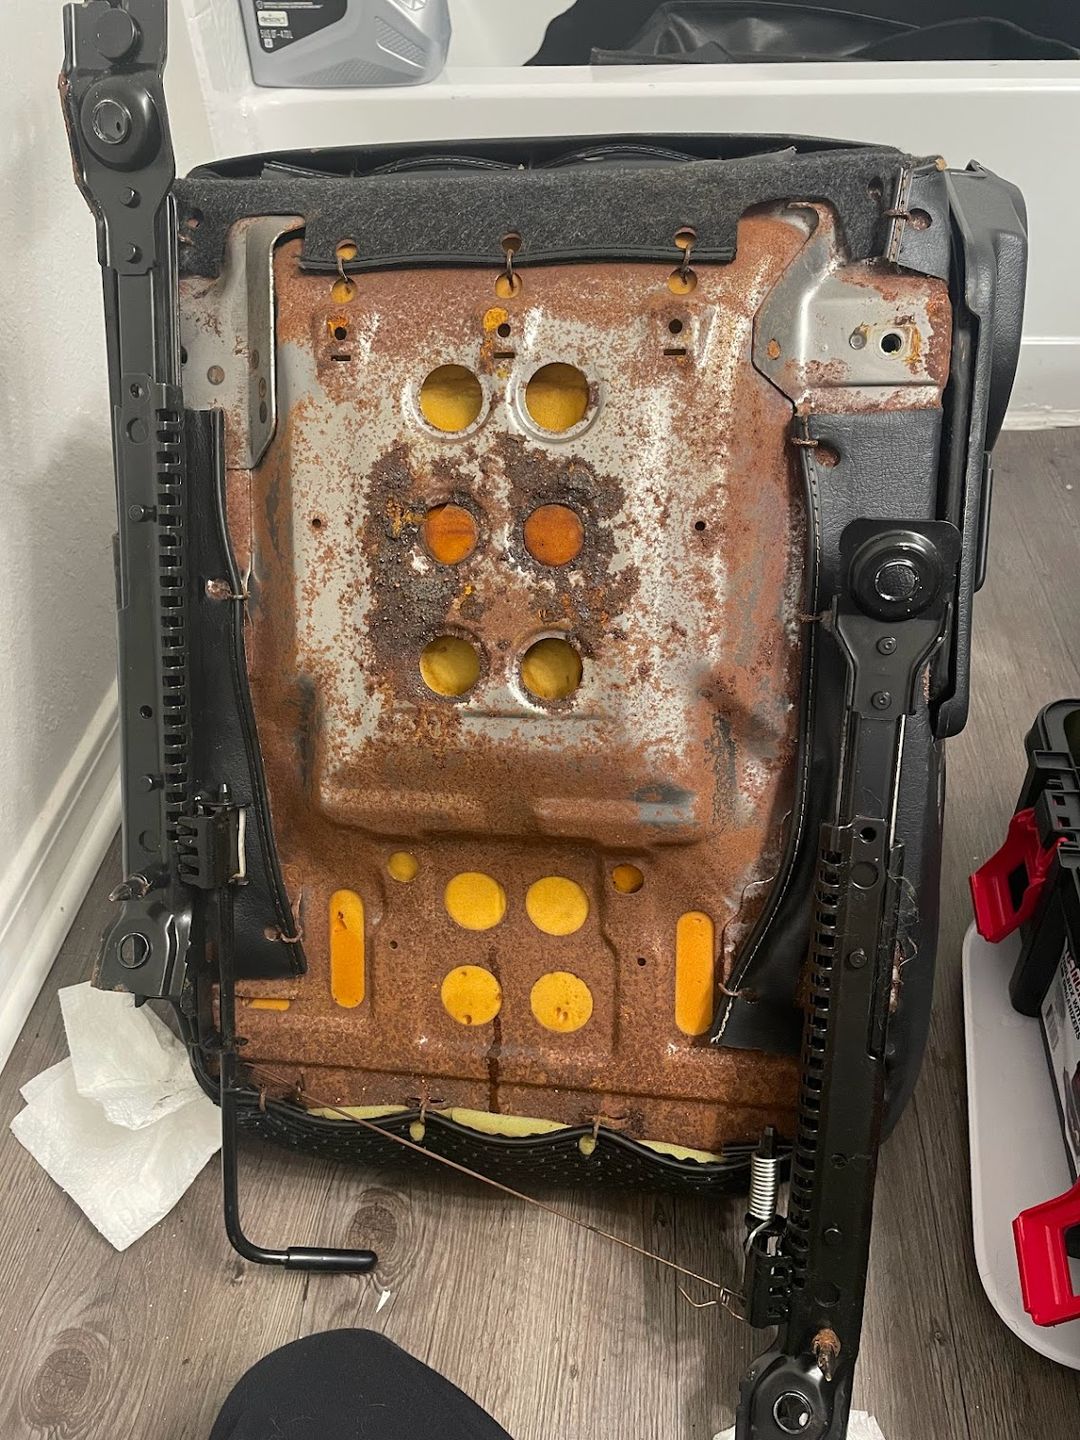
Restore Seat Pan
To restore the seat pan it has to be removed and painted. To dismantle the seat I followed this tutorial: Miata Seat Dismantle. My seat is a little bit different than the author’s, there are additional one bolt and one screw to remove in order to detach the seat pan from the seat. The screw was very difficult to remove by hand, I removed it with the impact driver.
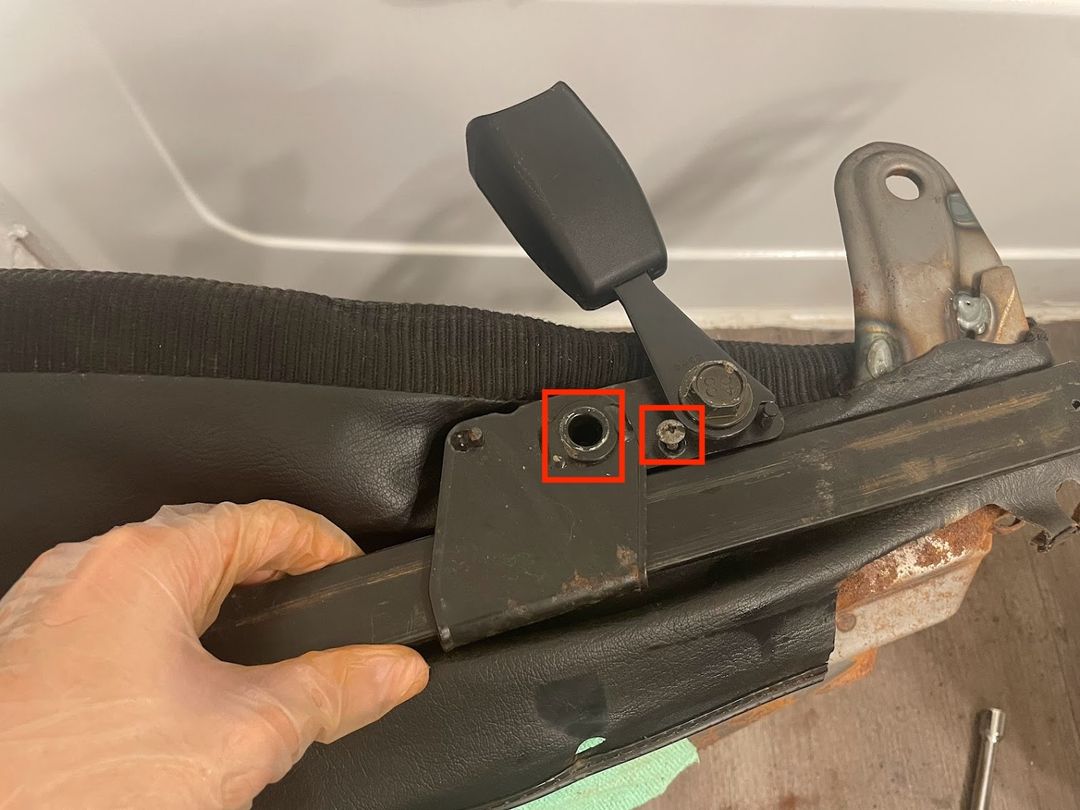
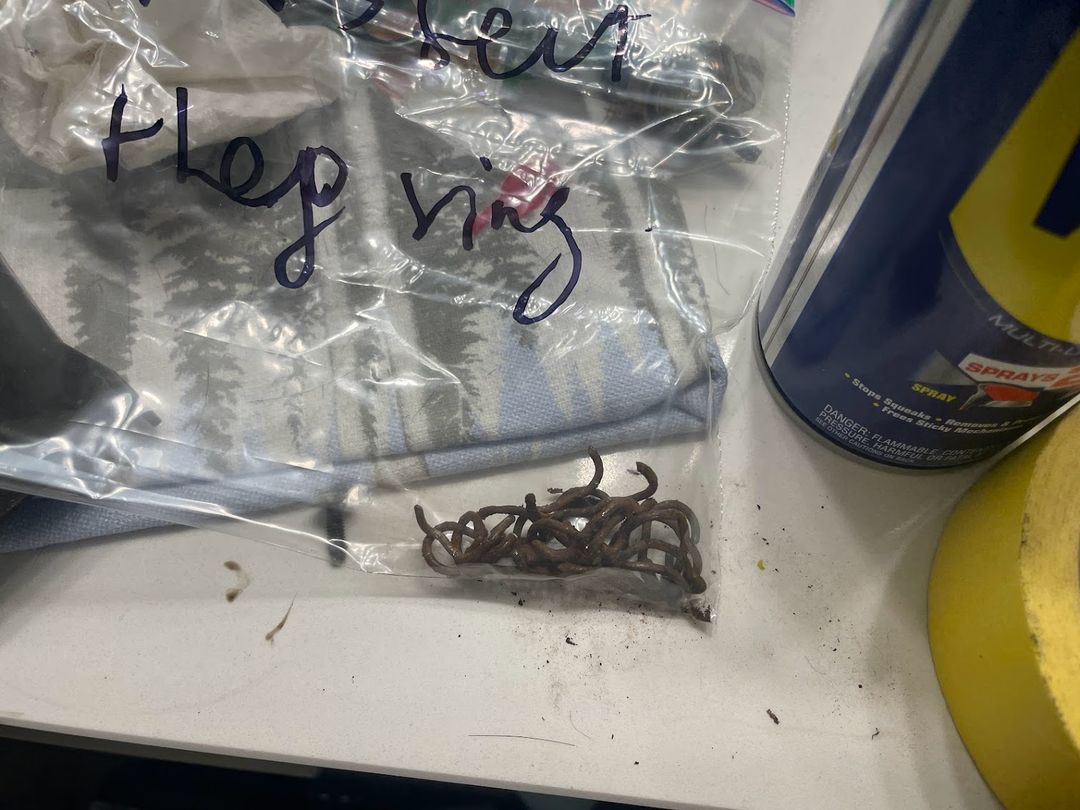
The leather is attached to the seat pan by hog rings. These hog rings are probably very rusted as well.
Maple: Rust can be dangerous! Be careful when you work with rusted metal, use protection gear and dispose the rusted parts properly. If you are hurt by rusted pieces, see doctor immediately.
 Maple: Rust can be dangerous! Be careful when you work with rusted metal, use protection gear and dispose the rusted parts properly. If you are hurt by rusted pieces, see doctor immediately.
When I re-installed the seat pan, I used zip ties instead of hog rings and they work much better.
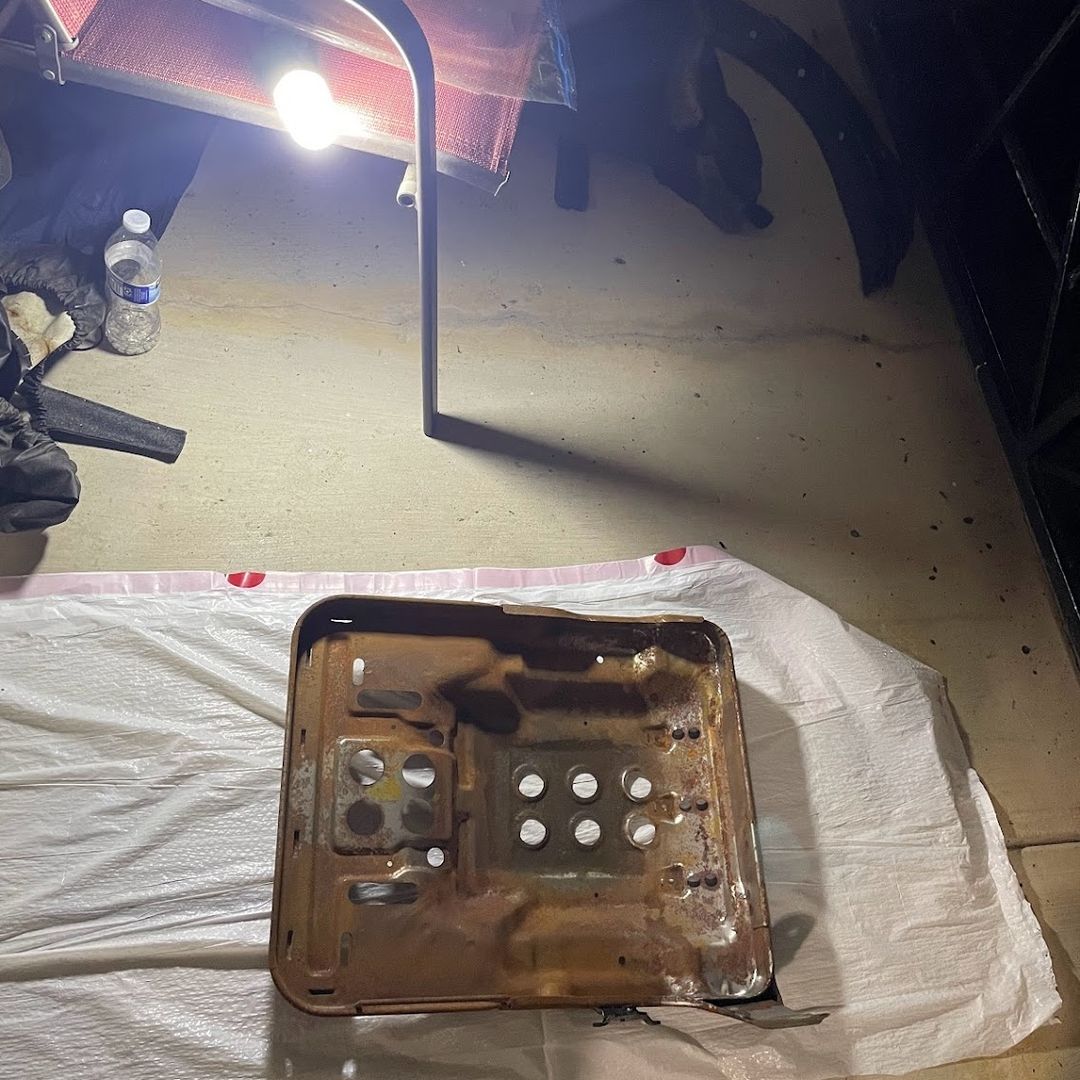
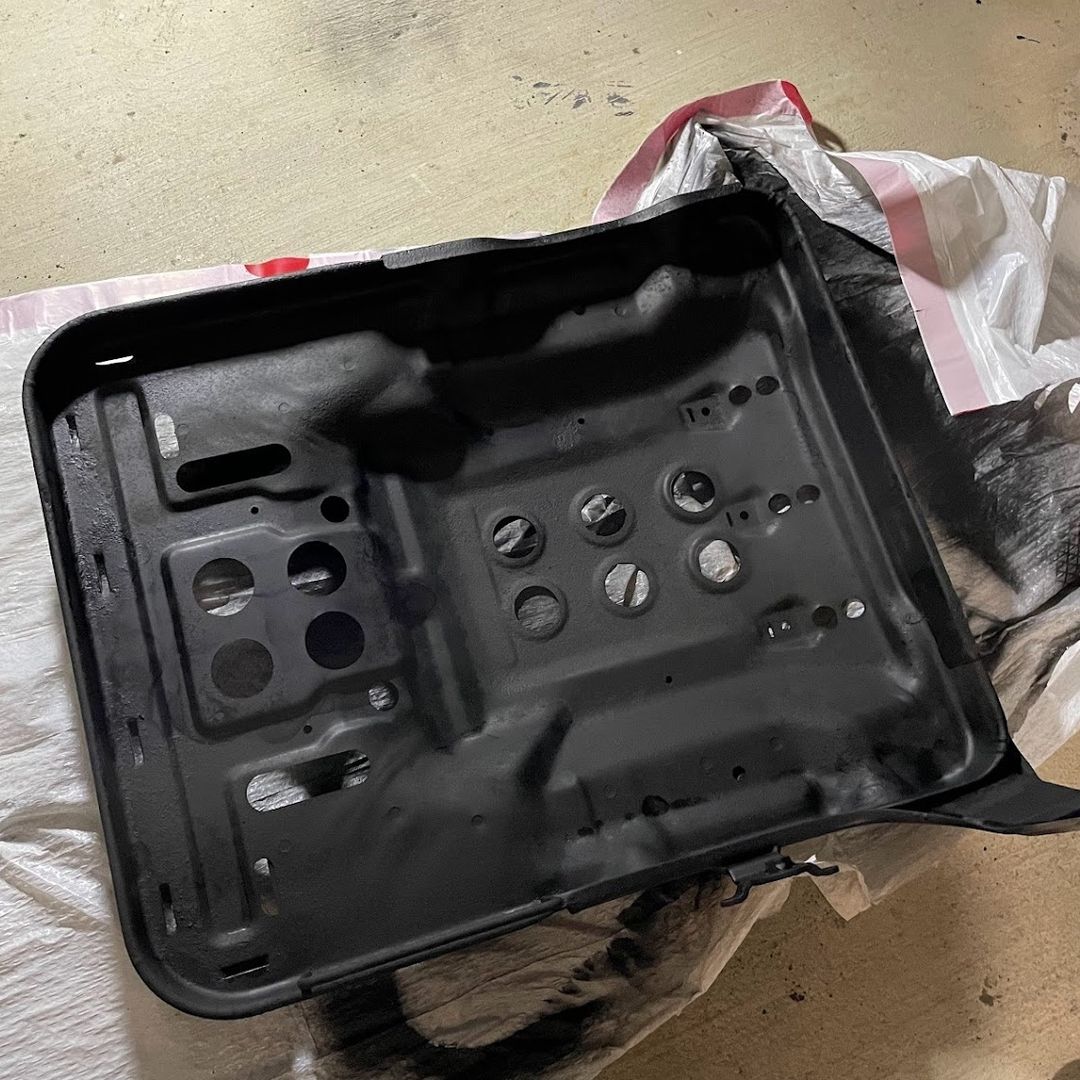
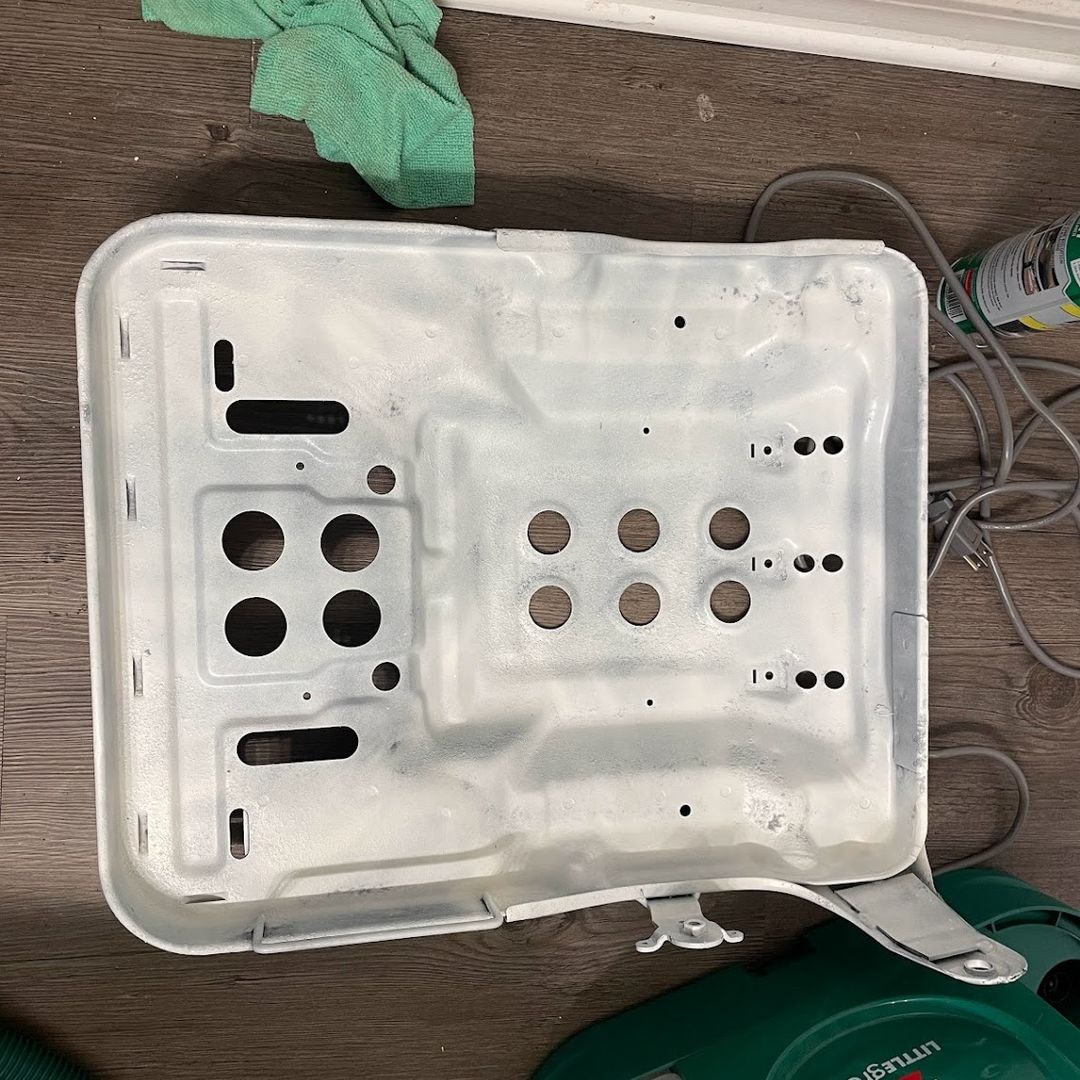
To repaint the seat pan,
- Clean the rust with a wire brush, or a drill wire brush if necessary, to clean up the crunchy rust pieces.
- Use rust reformer to convert the rusted surface to a paintable surface(equivalent with primer).
- Paint with color paint after 24 hours.
Broken Bolt
While reassembling the seat, I ran into another problem: a bolt securing the seat rail to the seat pan broke off when I applied 30 ft-lb of torque.
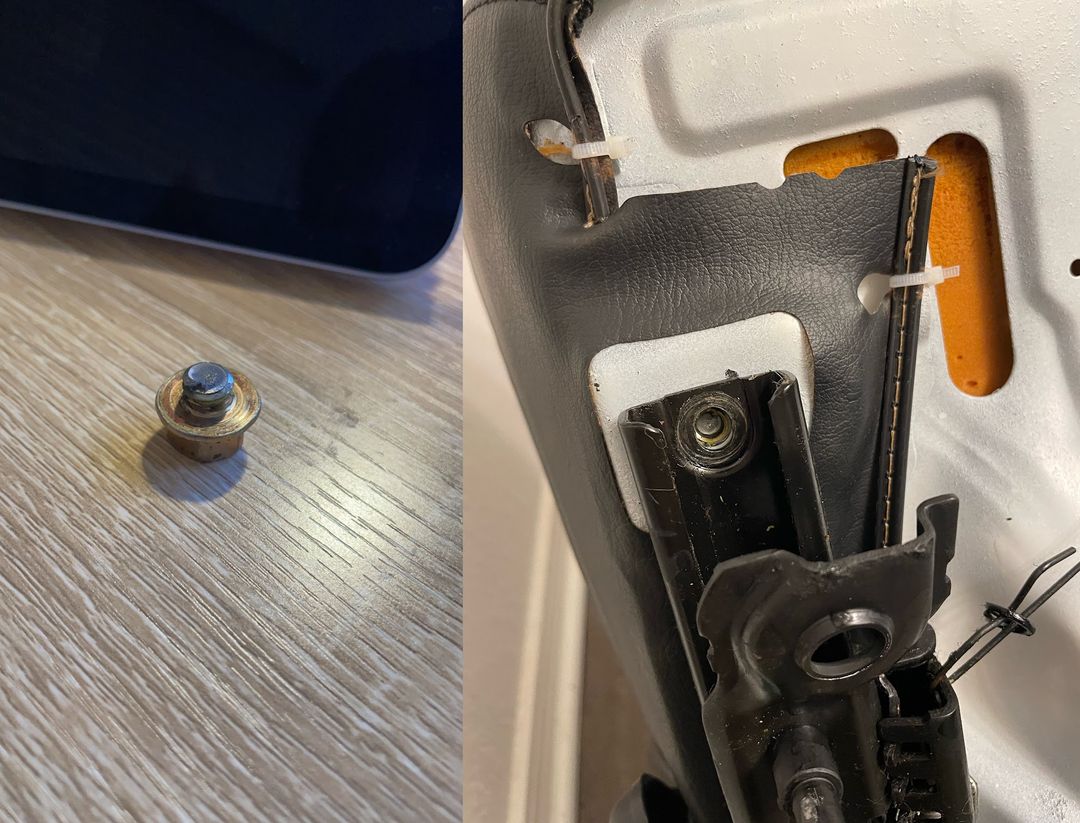
Fixing this require two steps:
- Remove the broken bolt
- Buy a bolt with the same spec and re-install.
To remove the broken bolt, use a bolt extractor. Drill a hole in the bolt, then hammer the extractor into the hole and turn it counterclockwise to remove.
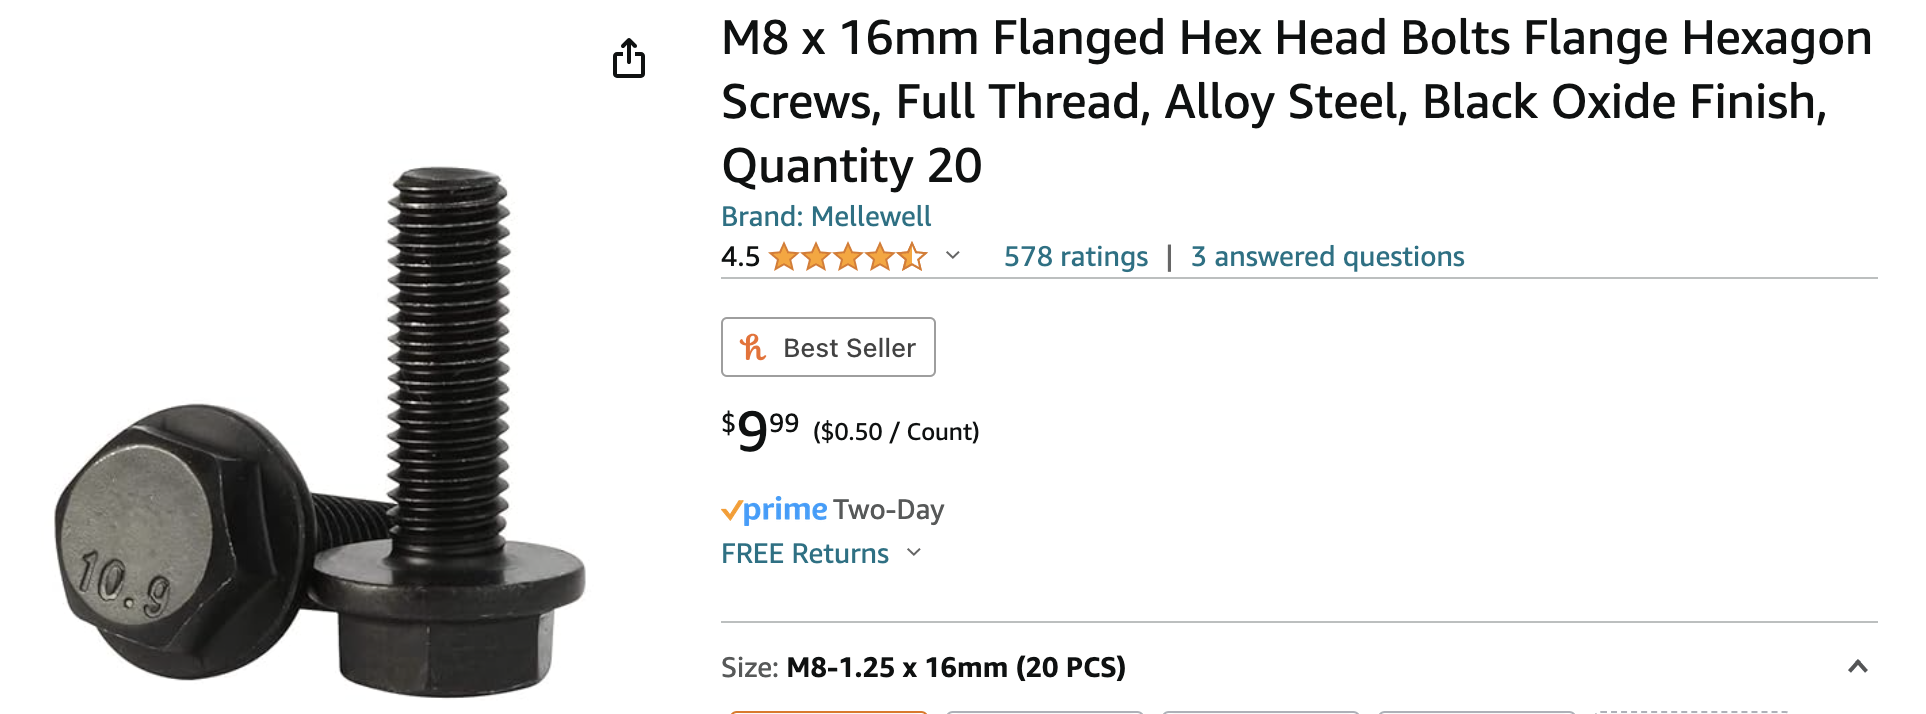
Then I need to find a bolt with the same specification. After research and measurement, I found the bolt was M8-1.25 x 16mm. For how to measure the spec of a screw or nut, refer to 如何更换锈死的雨刷臂(Wiper Arm) – Frank’s Weblog
I couldn’t find the same specification bolt at my local HomeDepot, and I bought one on Amazon.
Cleaning
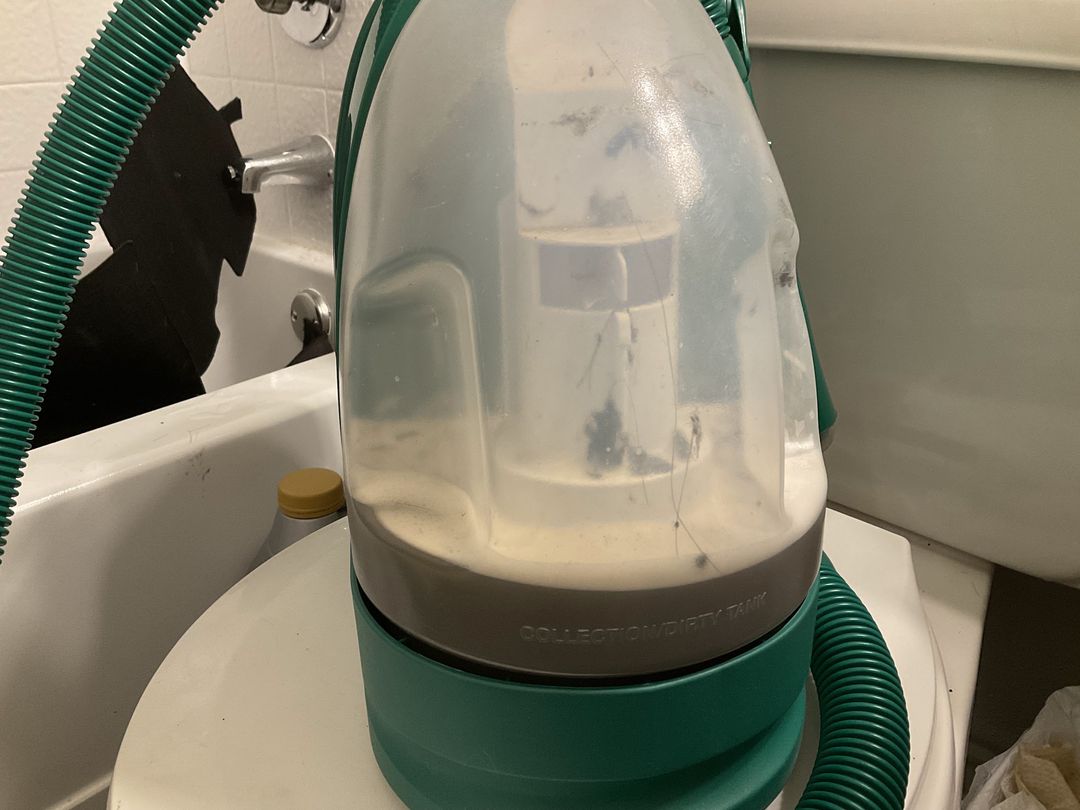
Finally, I used an extraction machine with a drill brush to clean the seats. After several passes, the water extracted looked like this:
Carpet & Floor
The Miata’s carpet is one piece, and removing it would require dismantling the entire dashboard. Therefore, I decided to lift the carpet on both sides to check the condition underneath.
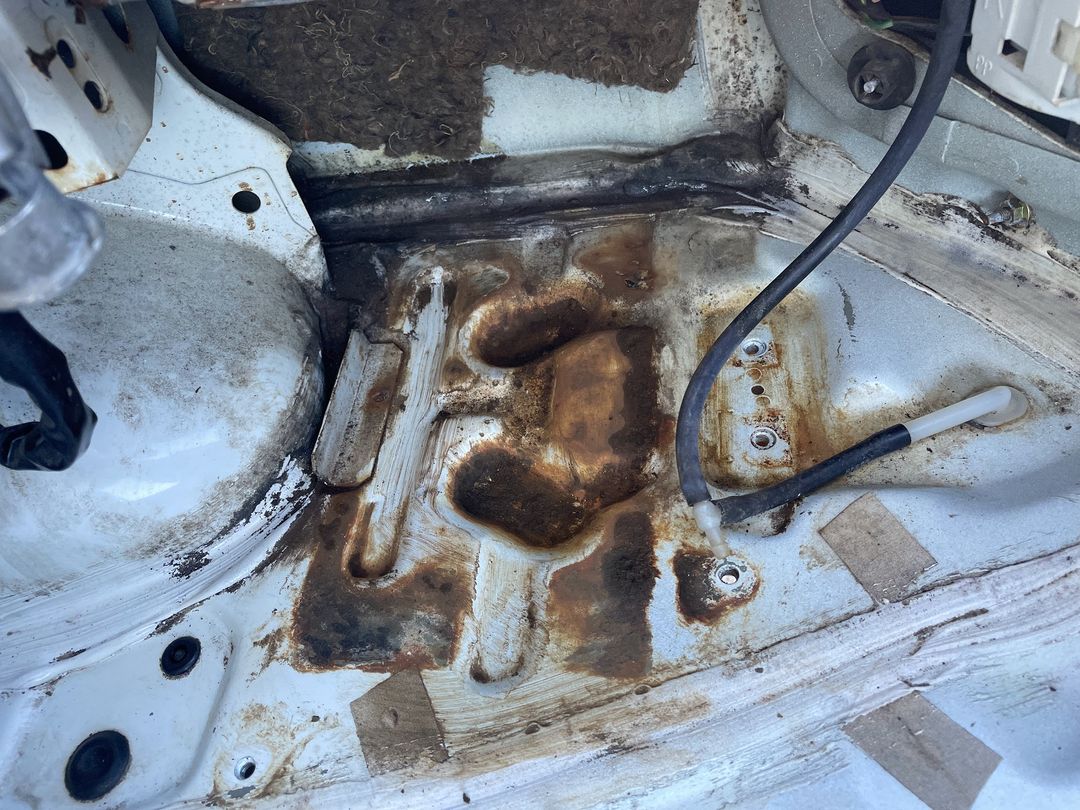
After lifting the carpet, I found that the soundproofing material underneath had absorbed a good amount of water. The passenger side was in good condition with no rust, so it just needed to be cleaned. However, the driver’s side was in terrible shape.
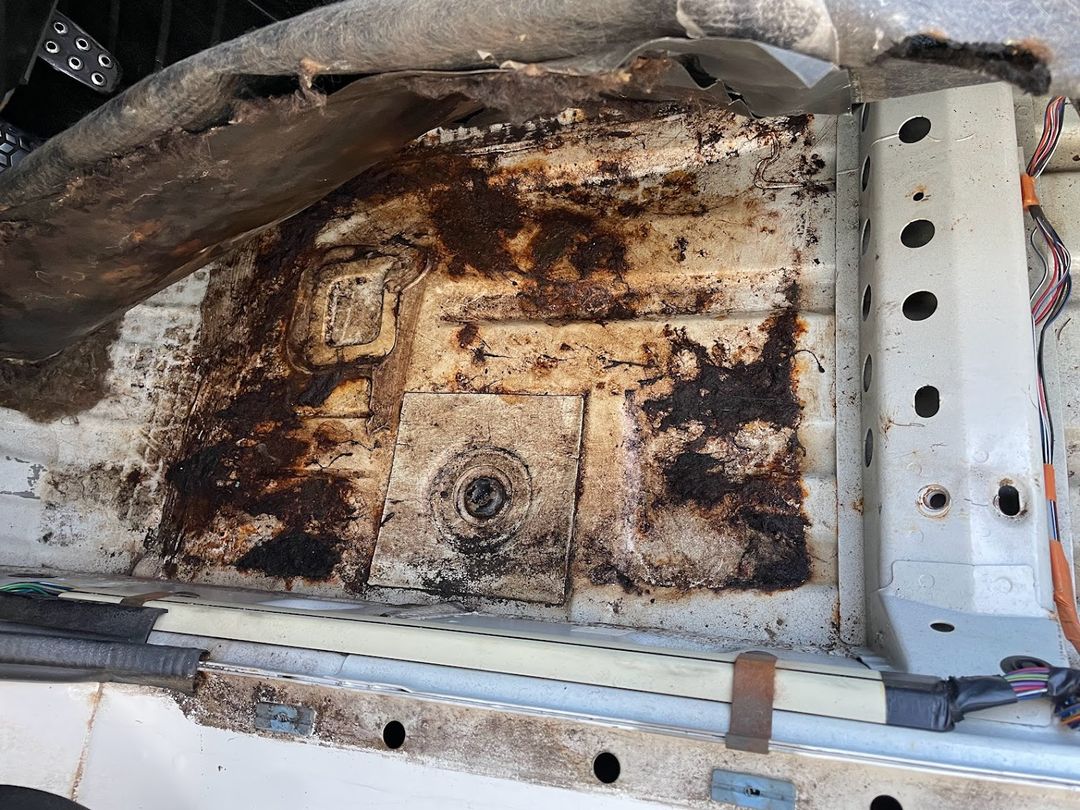
I followed the same procedure: sanding -> rust reformer -> painting. While sanding, I found two small rust-through holes. I filled them with Bondo as they were too small for welding and I don’t have the equipments to do so.
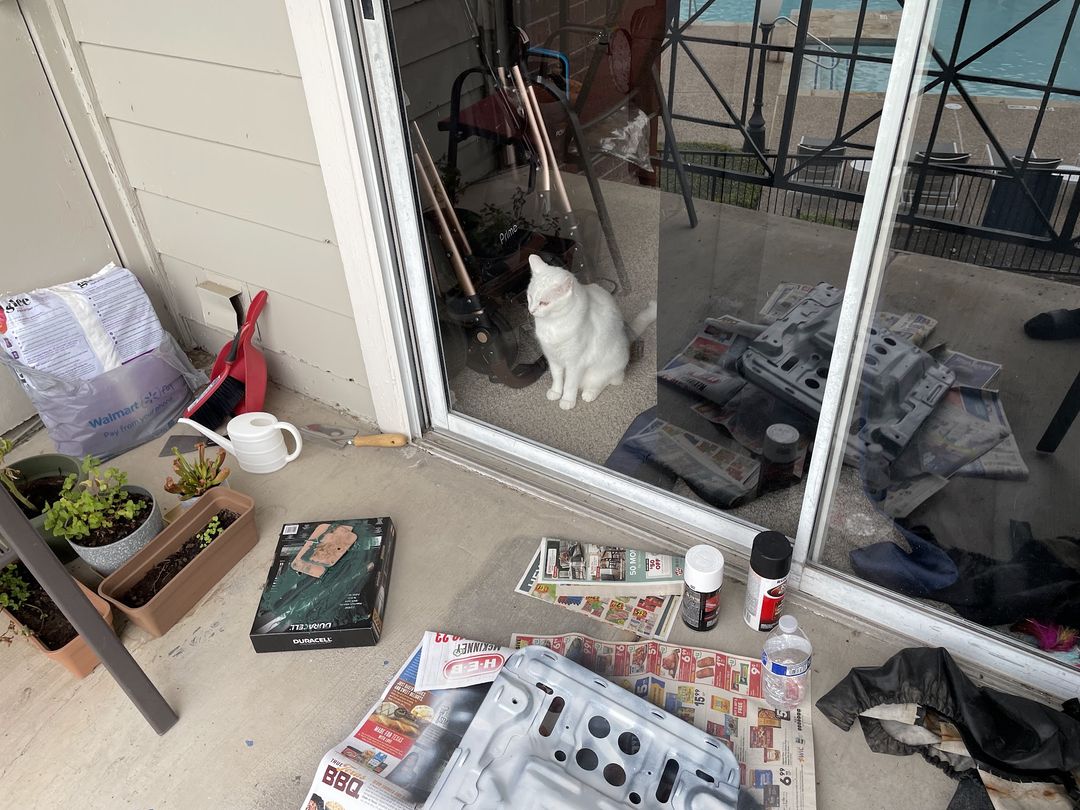
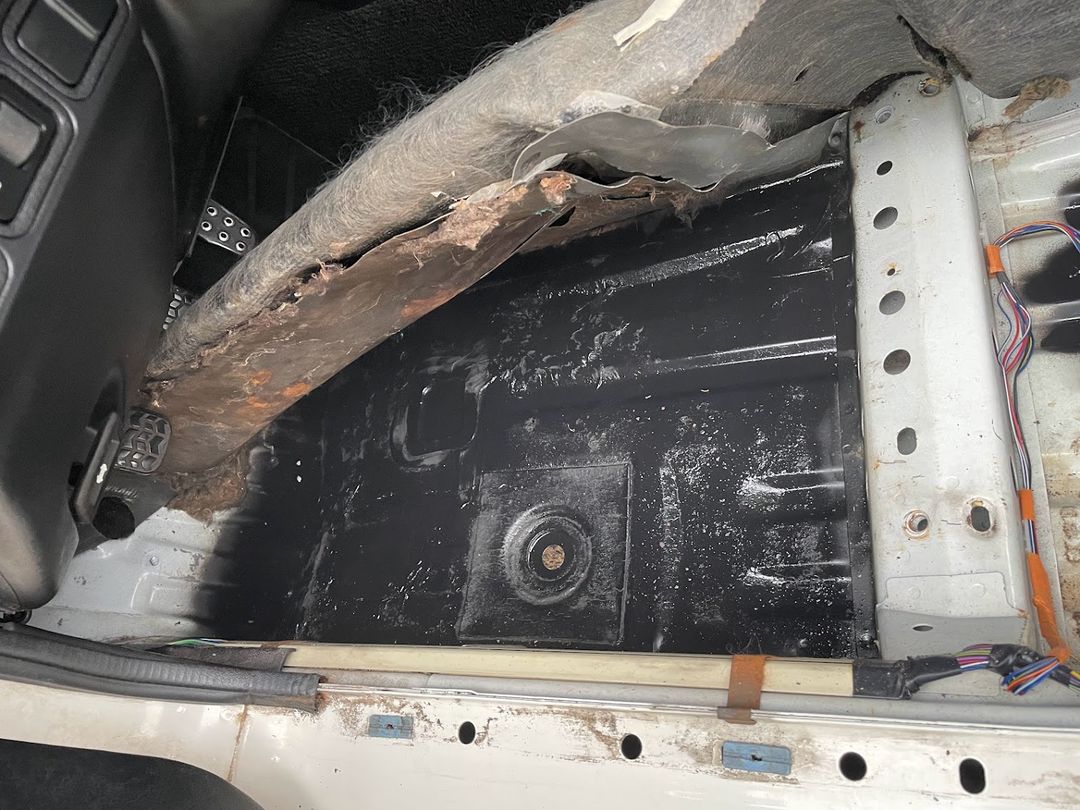
This is the photo after treating with Rust reformer. You may notice the painted surface had a lot of dust and debris. It is because there was no power outlet in the parking lot to use a vacuum cleaner. Ideally, the surface should be cleaned before painting. After waiting 24 hours, I sprayed the color coat (I forgot to take a photo).
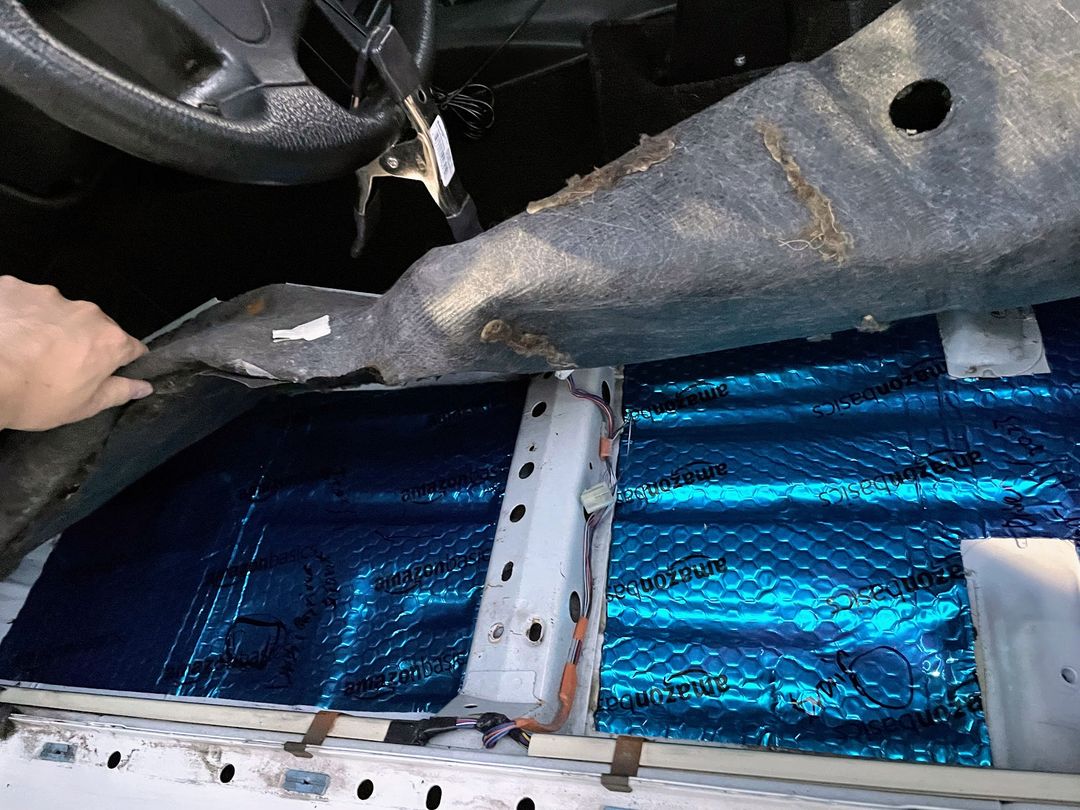
Apply new sound deadening material.
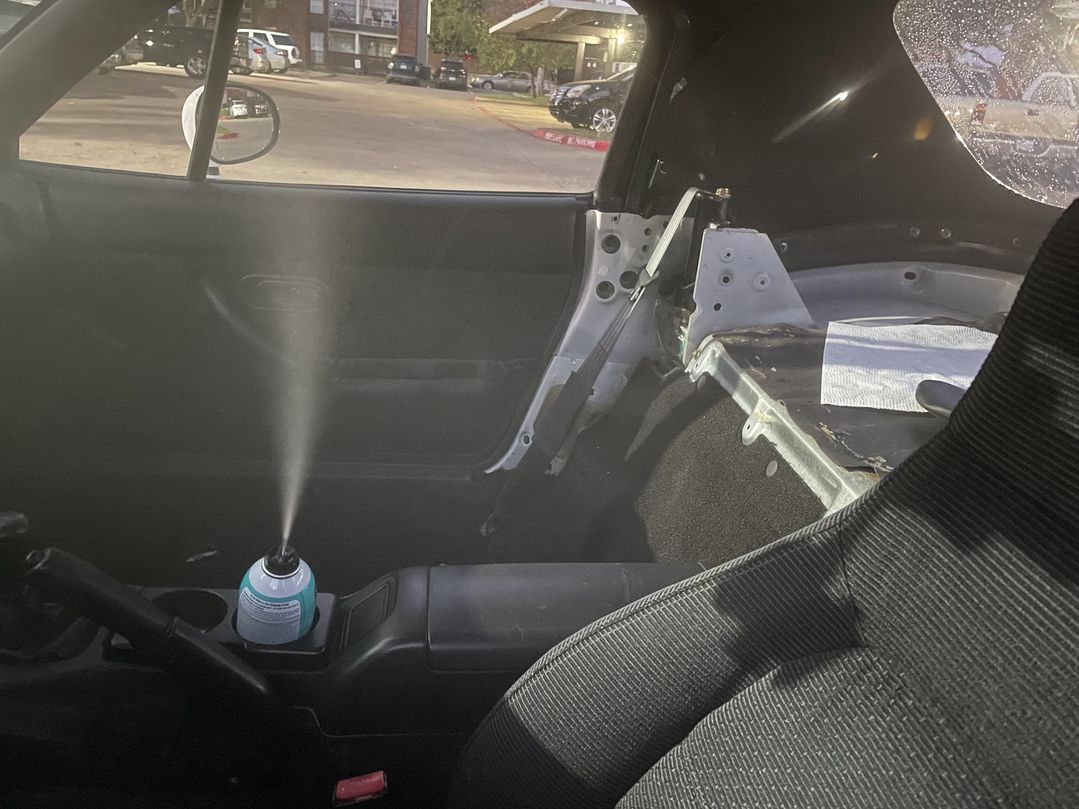
Apply a can of air freshener.
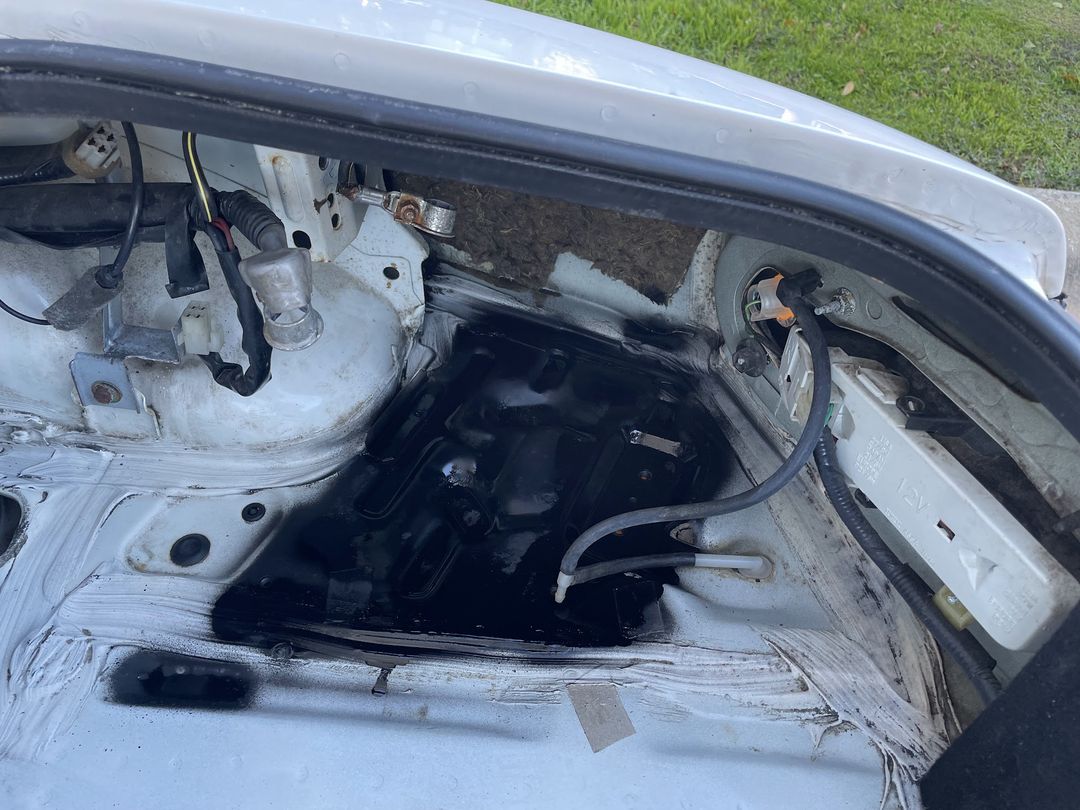
Trunk
This area is located under the battery. Since my battery was taller than the OEM one, I had to remove it to install the metal part that connects to the J hook and holds the battery. After removing the battery, I found the surface underneath is rusted. I followed the same procedure: sanding -> rust reformer -> spray painting to stop the rust from spreading further.
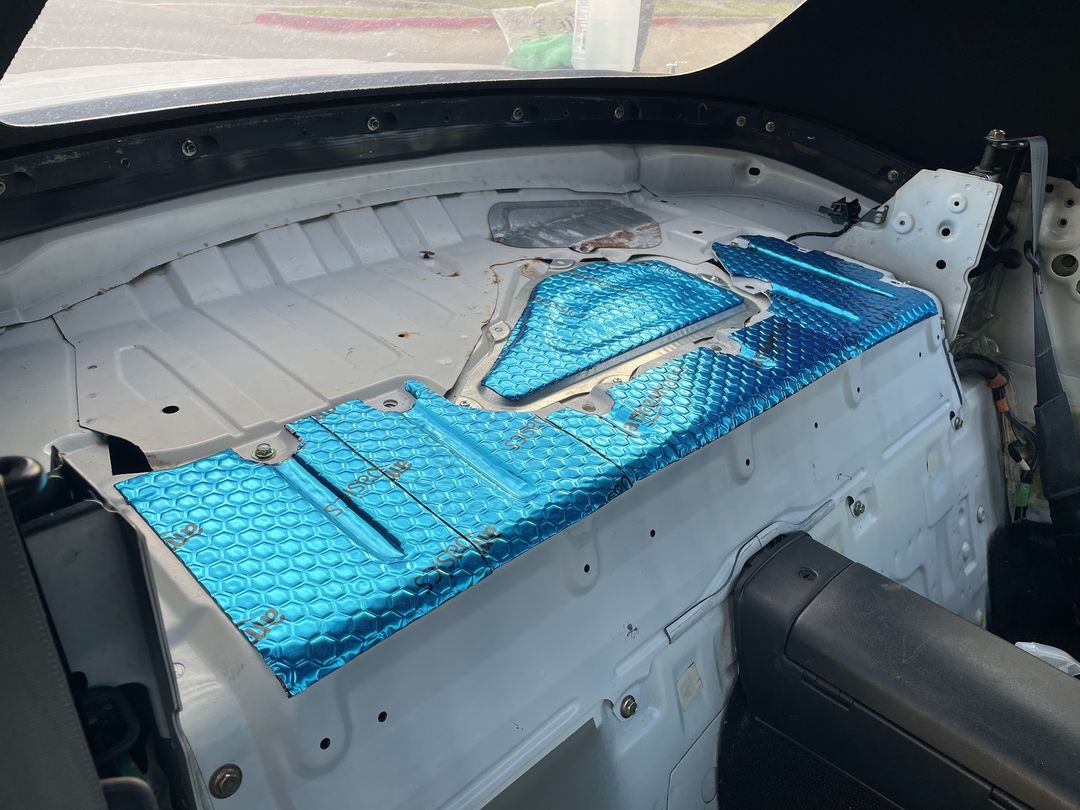
Parcel shelf
This area behind the seats is called the “parcel shelf”. If the soft top’s rear window or rain rail leaks, rain water will accumulate in this area, leading to mold, rust and odor.
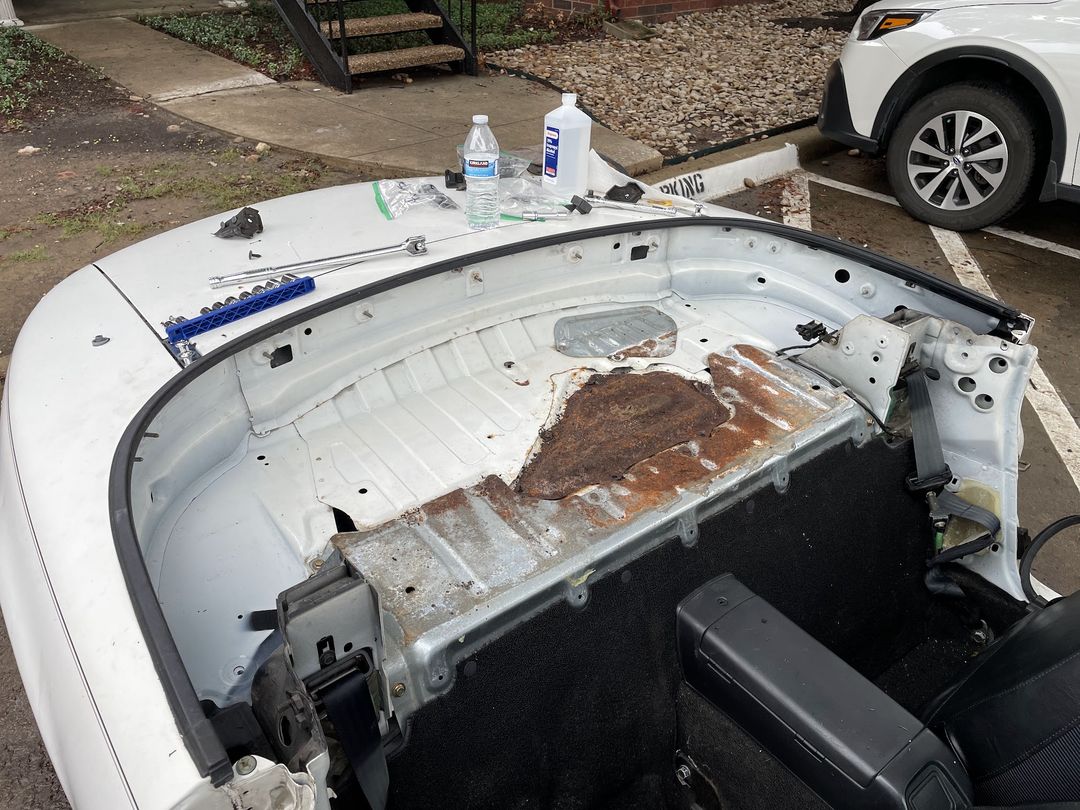
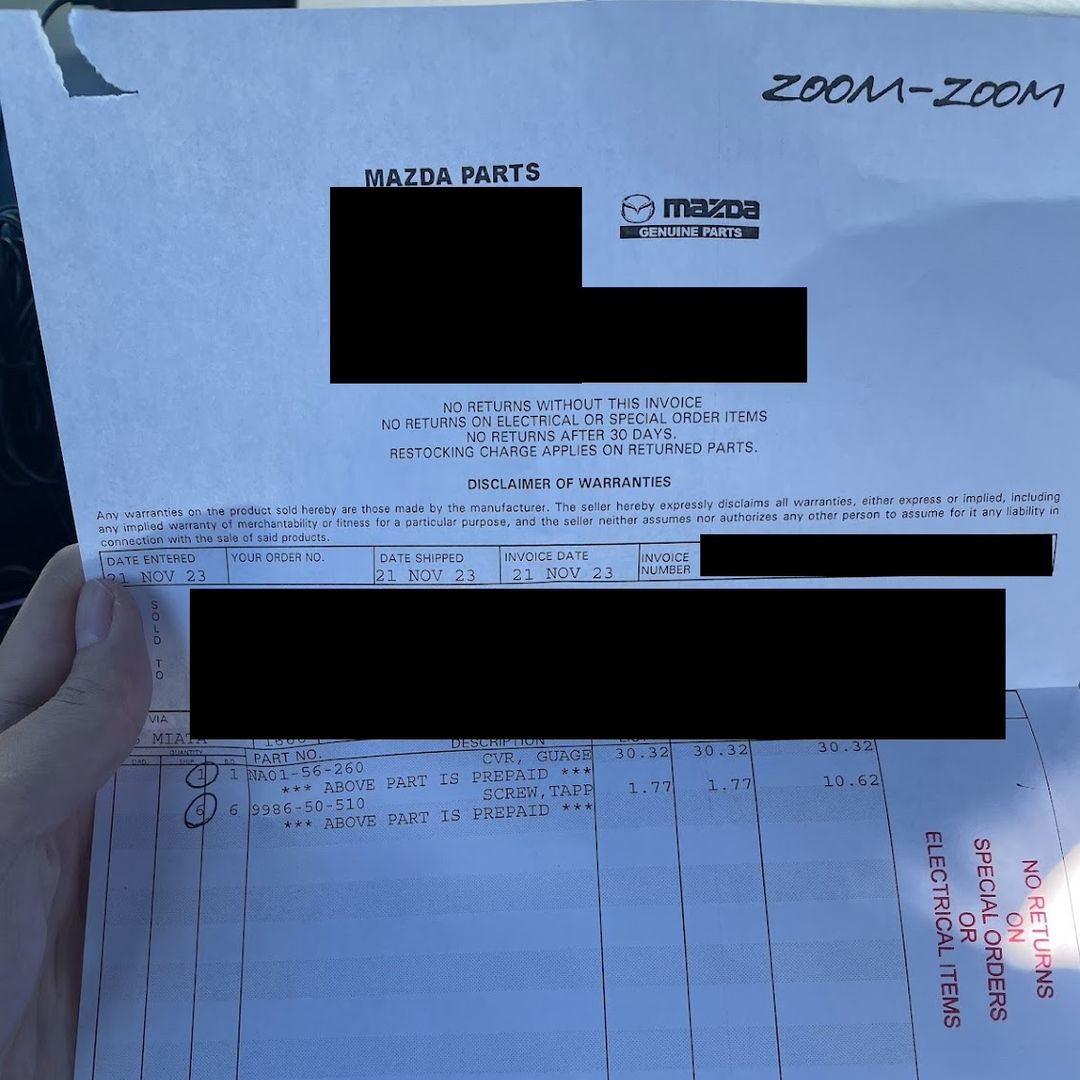
The metal plate covering the fuel pump and several pipes was completely rusted through and cannot be used anymore. I ordered a new OEM part from a nearby Mazda dealer. It’s incredible that Mazda still making parts for 30-year-old cars.
The larger metal part only had surface rust. I removed this plate, sanded it, repainted it, and applied new sound deadening material.
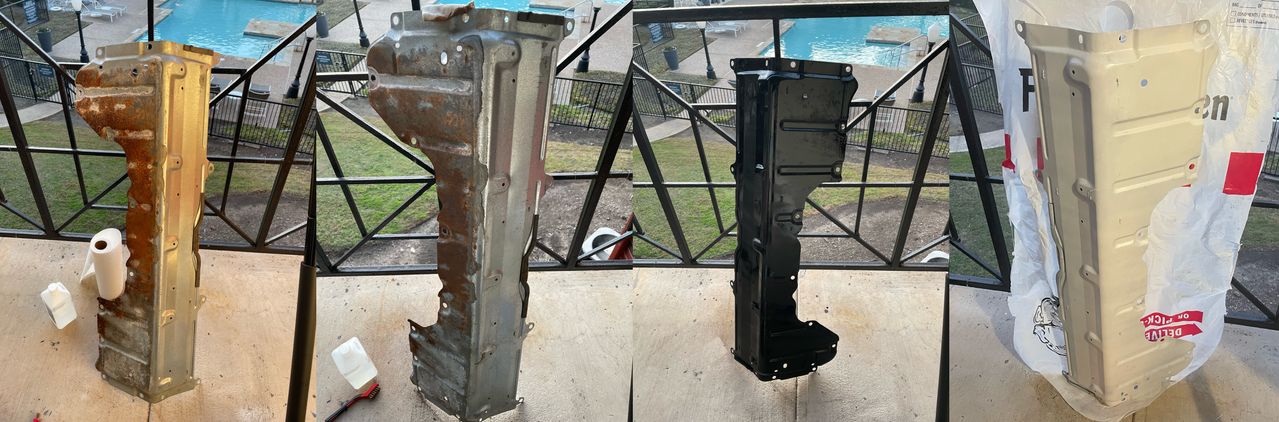
It looks like this after completion.

发表回复/Leave a Reply