Contents
中文版:组装NAS及配置Unraid OS – Frank’s Weblog
My Synology DS221j I bought in 2021 is pretty outdated today. As Synology’s most entry-level NAS, its performance today is barely able to support any applications beyond the Samba service, and it doesn’t support Docker. Therefore, I decided to buy a new NAS.
I had considered buying the Synology DS925+, but Synology’s new 2025 models introduced a restriction that only allows the use of their own branded hard drives. So Synology was ruled out as an option. I also considered the UGREEN NAS and install a third-party OS. However, the UGREEN NASync DXP4800 Plus is priced at $699, and even with a Prime Day discount, it’s still $519, which isn’t a great value. After some research, I decided to build a NAS myself.
Parts List
- Motherboard: ASUS TUF GAMING B650-PLUS WIFI – $159
- CPU: AMD Ryzen™ 5 9600X 6-Core (with integrated AMD Radeon™ Graphics) – $156
- Memory: Crucial Pro 32GB DDR5 RAM Kit (2x16GB) – $77
- Power Supply: CORSAIR RM550x – $0 (left by a friend who moved away)
- CPU Cooler: Cooler Master Hyper 212 Black CPU Air Cooler – $23.99
- Case: Rosewill Helium NAS Black ATX Mid Tower Computer Case – $79
- SSD: WD BLACK 1TB – $69
- Hard Drives: WD Red™ Plus – 12TB x2 – $419
Total: $494 (without hard drives); $982 (with hard drives)
All prices are with Prime Day discount and do not include tax.

Assembly
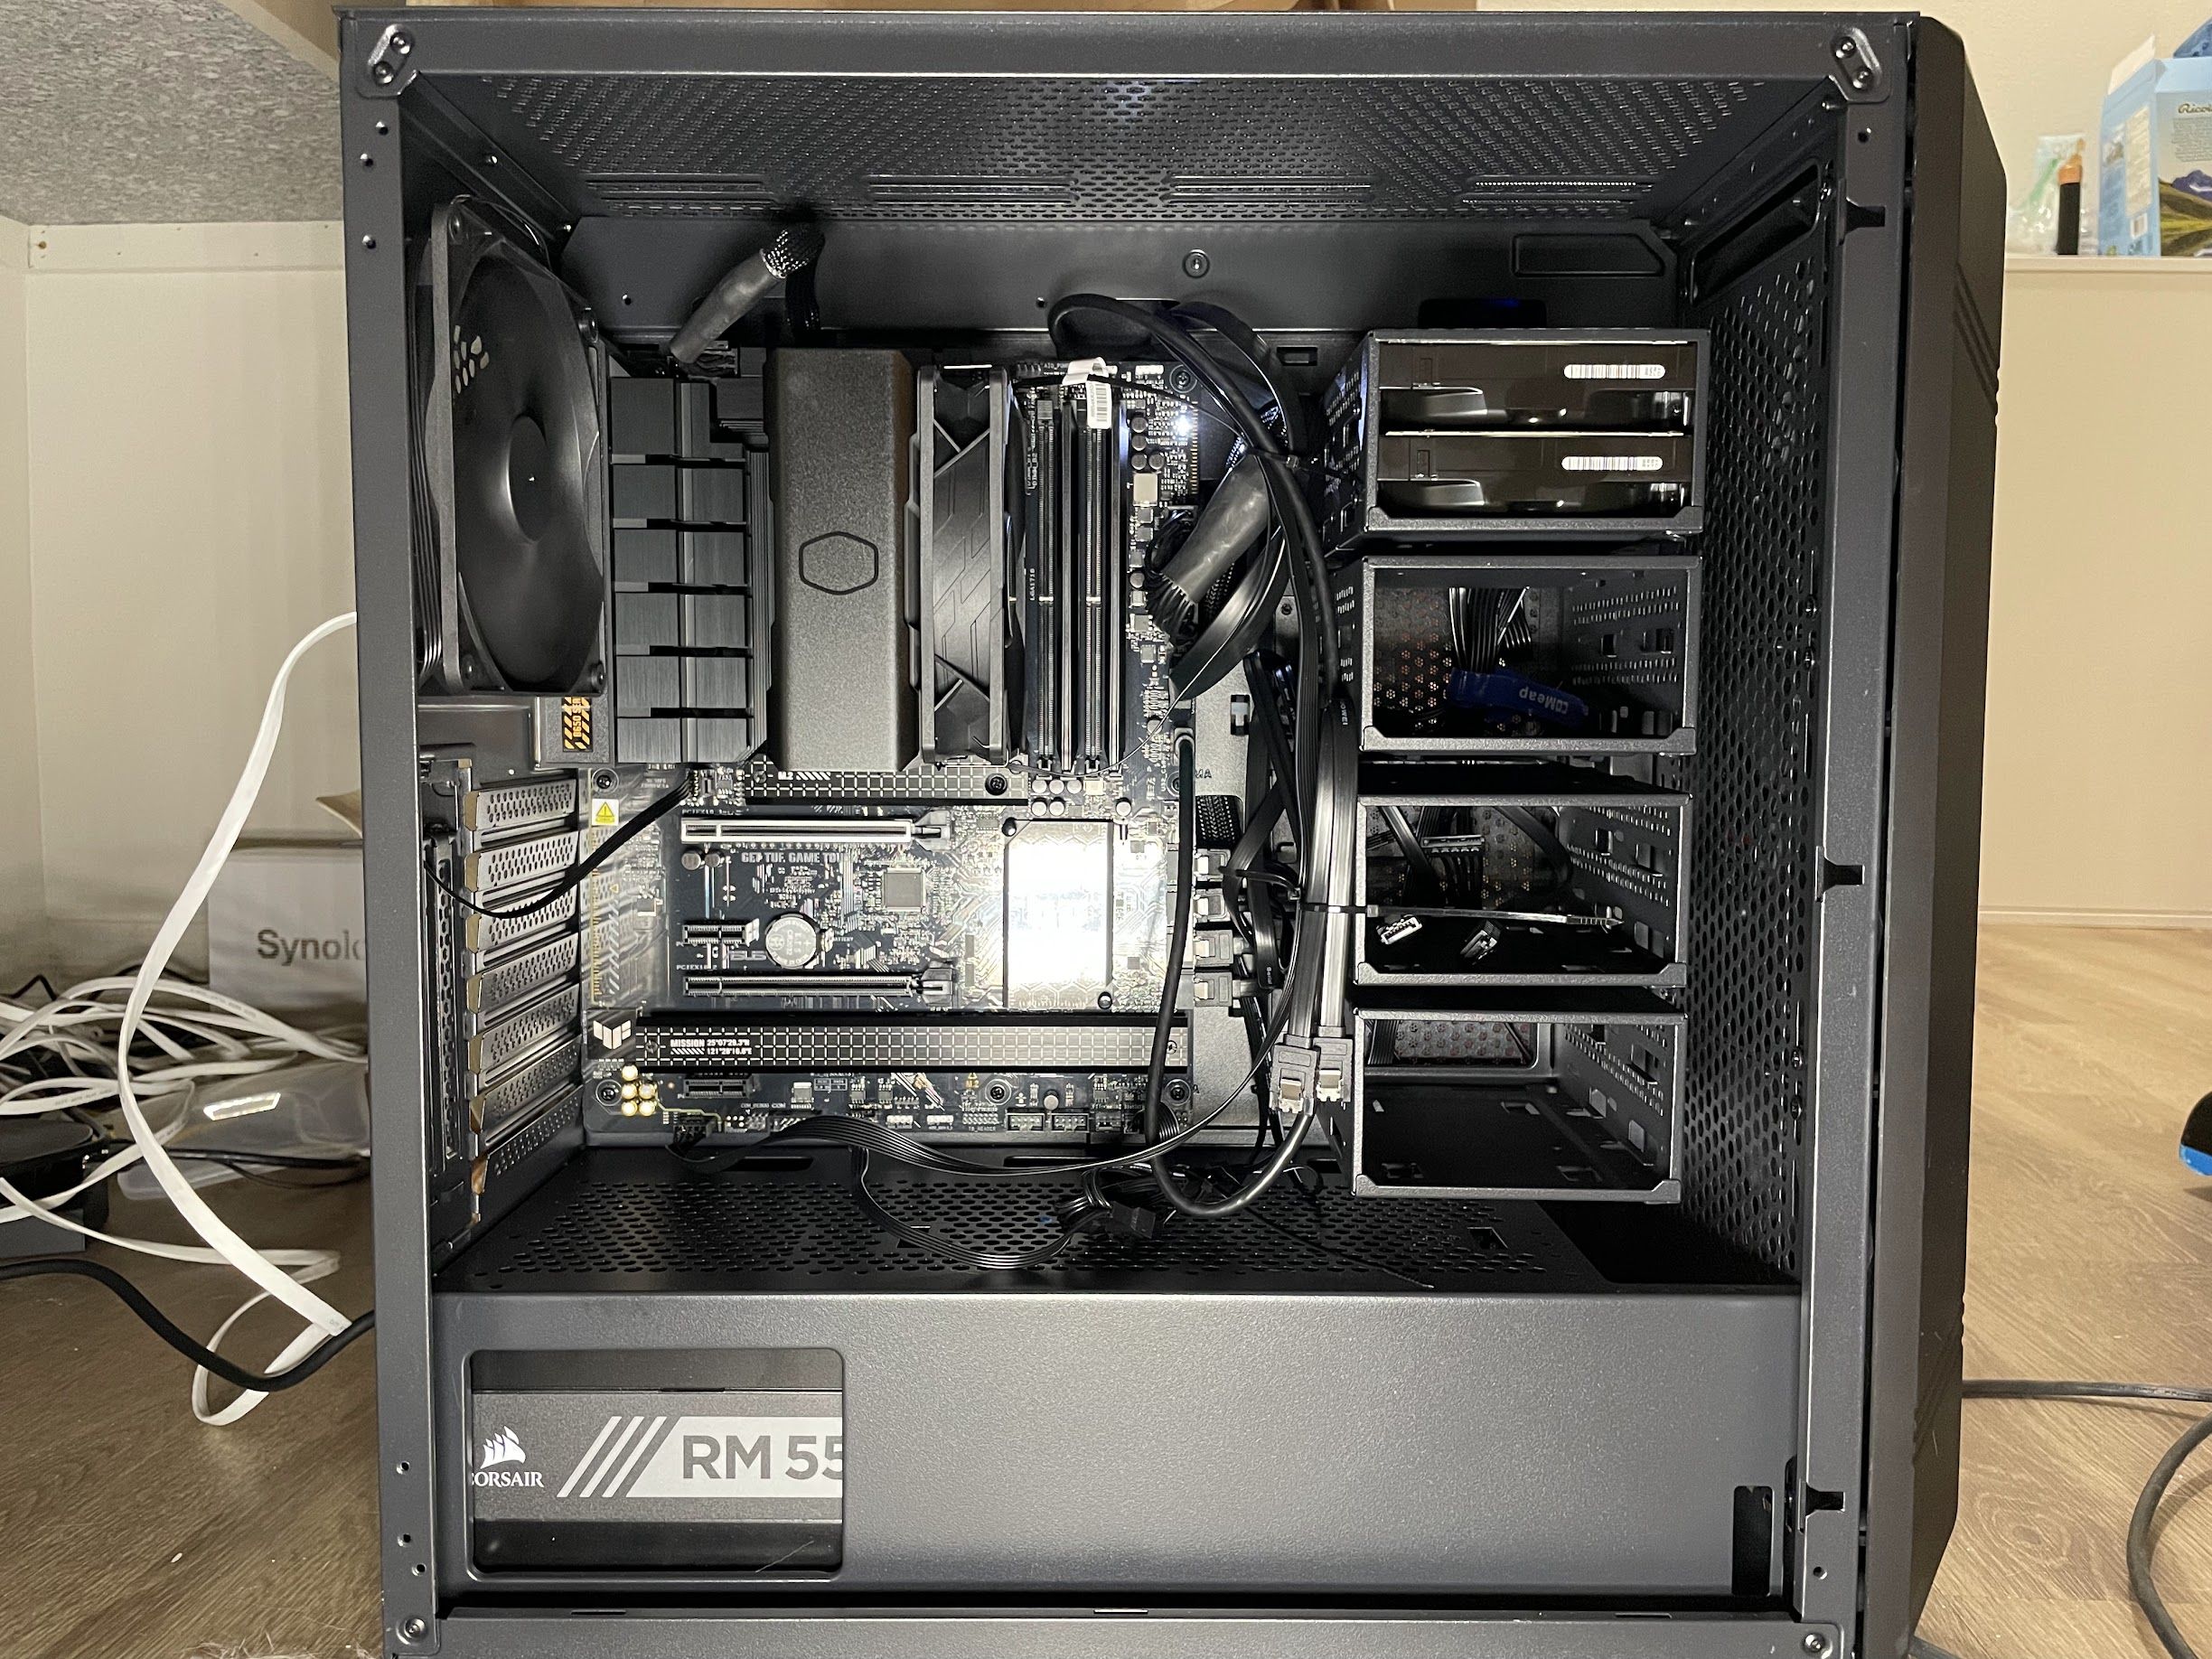
The assembly process went relatively smoothly. Despite I connected the CPU power cable incorrectly, which prevented it from booting on the first try.
Install and Configure Unraid
After comparing several popular NAS operating systems, I ultimately chose Unraid. If you want to compare common NAS systems, please refer to this video: Best NAS Software: TrueNAS vs OpenMediaVault vs Unraid – YouTube
For those new to it, Unraid has a bit of a learning curve. I recommend reading the following getting-started tutorial series(article is in Chinese):
Unraid 7.0 新手入门系列:认识 Unraid | JackieWu
Concepts in Unraid such as the Array, Pool, and Movers are different from those in Synology and other NAS systems, and some are counter-intuitive. Make sure you understand these concepts and have correctly configured your system and storage devices before you begin migrating data.
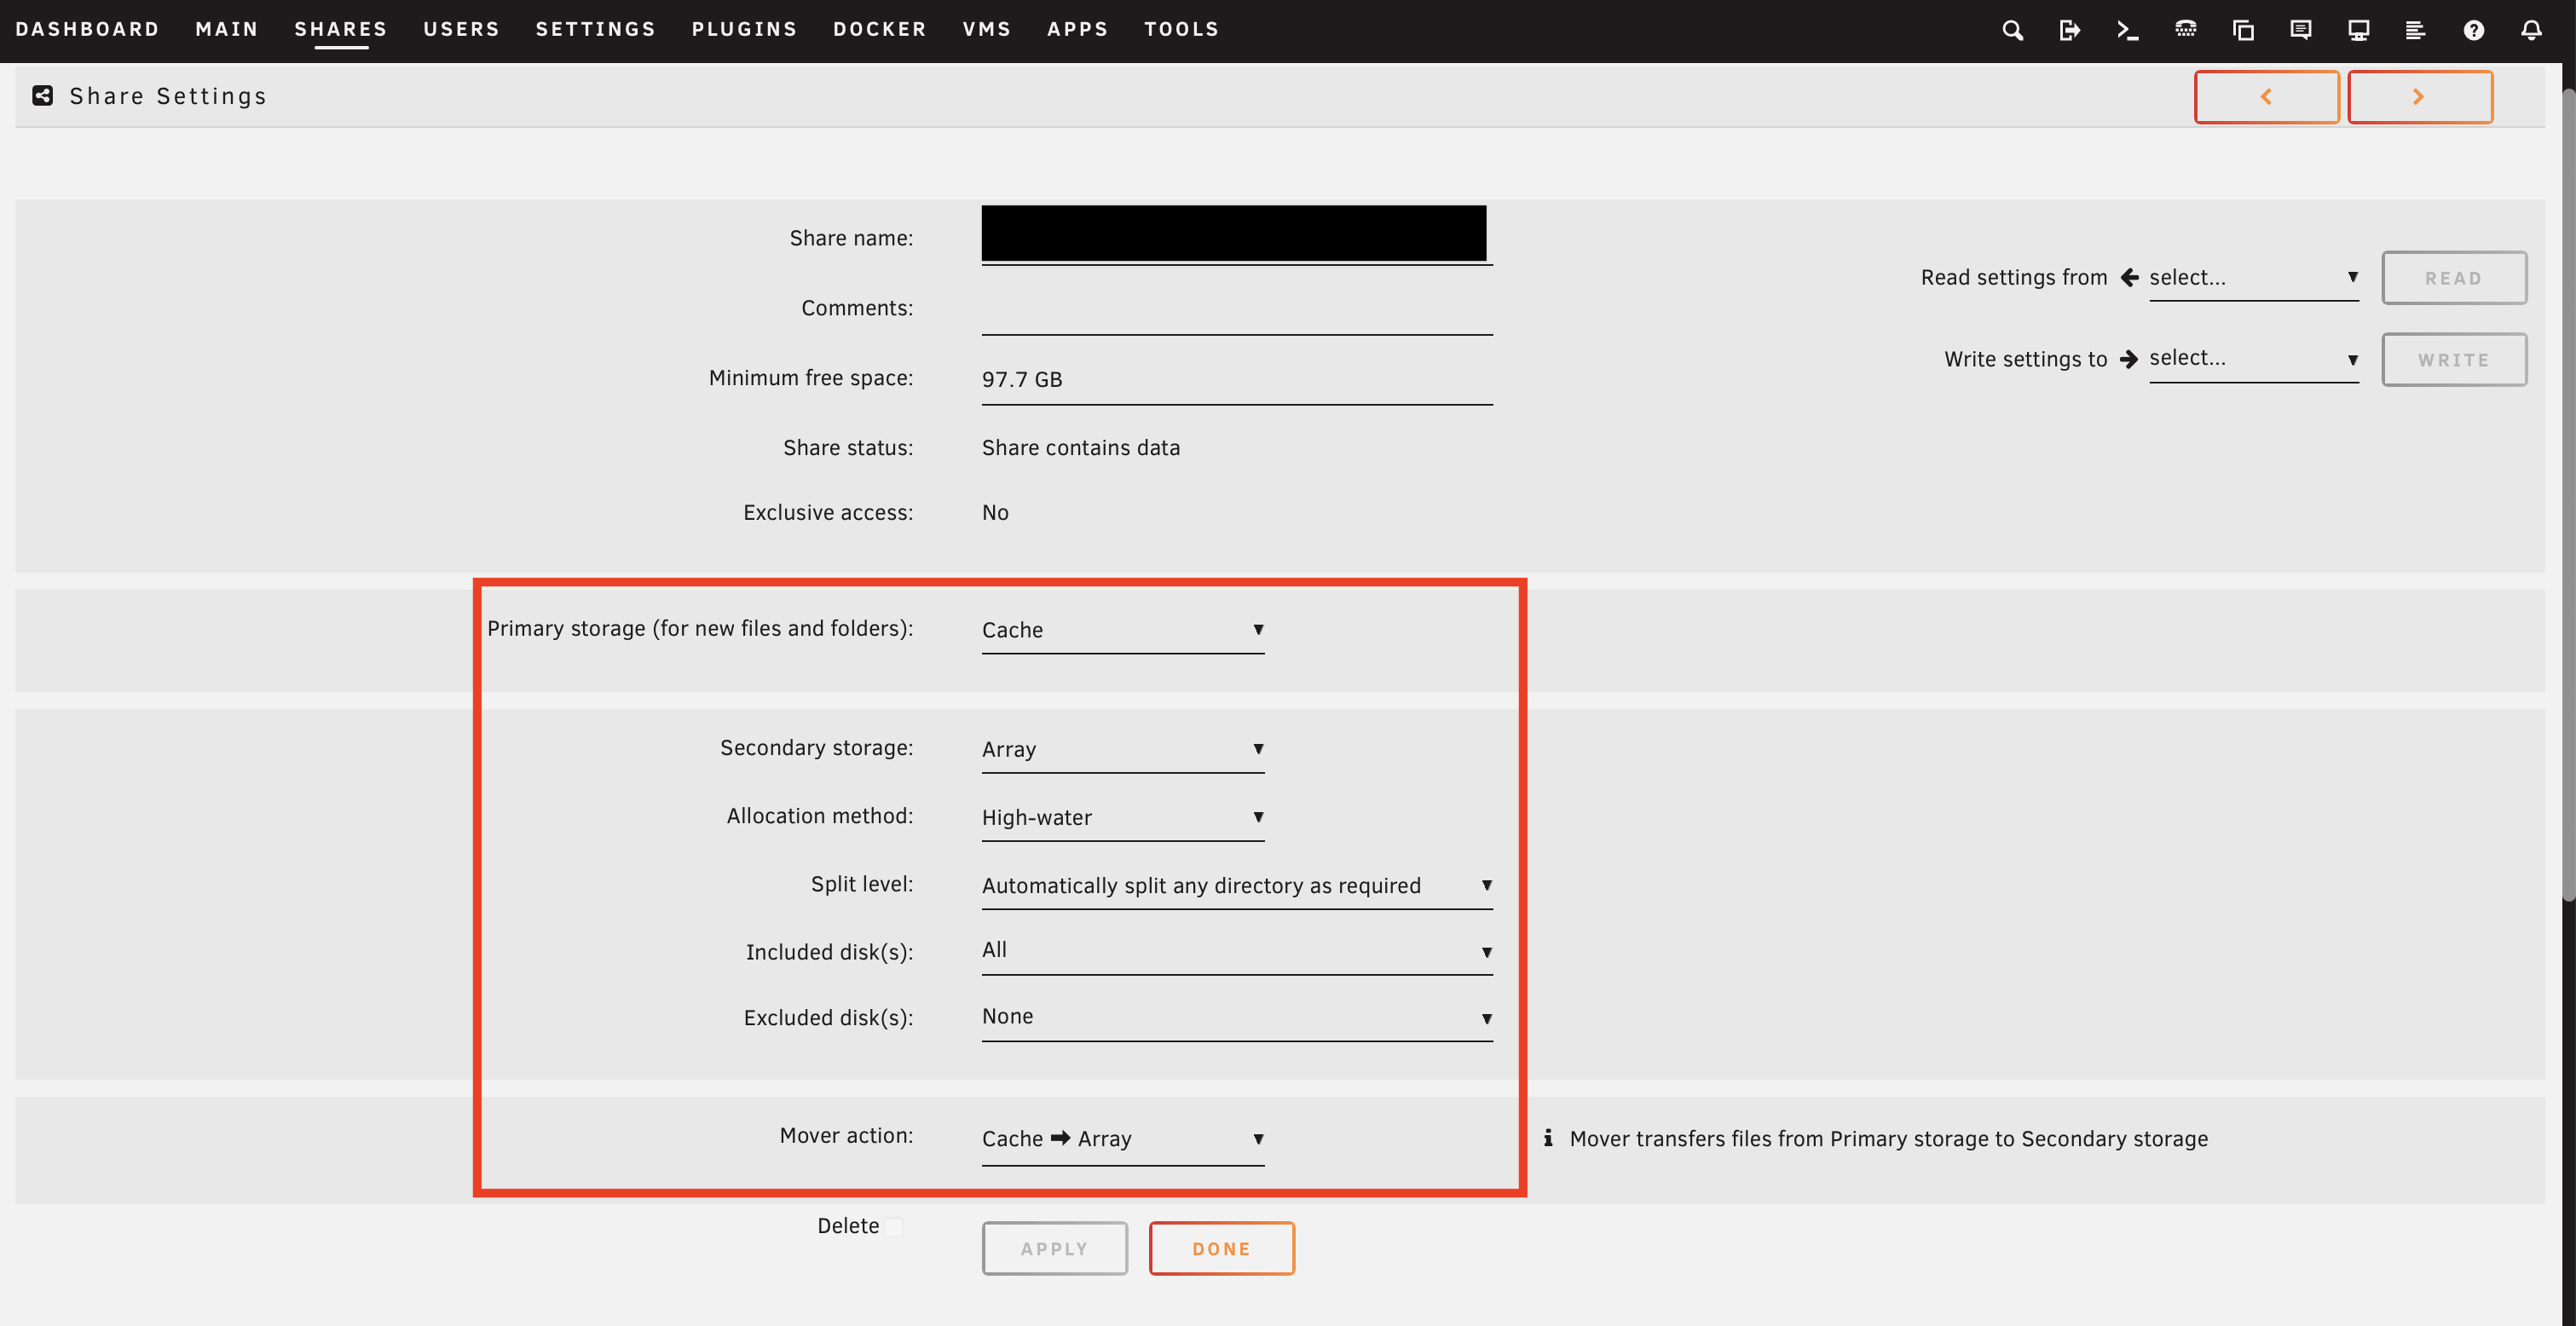
For example: when configuring SSD cache for a Share, older versions used a more intuitive expression “Use cache”. However, starting from version 6.1.2, this was replaced with “Primary storage” and “Secondary storage”, as well as “Mover action”[1] to avoid ambiguity. But at the same time, this has made these configurations more difficult to understand.
Therefore, to implement SSD caching in the traditional sense, the file share needs to be configured as follows:
- Primary Storage is set to Pool (usually SSD)
- Secondary Share is set to Array (usually HDD)
- Mover action depends on the type of the cache. For write cache, it should be set to Pool -> Array[1][2]
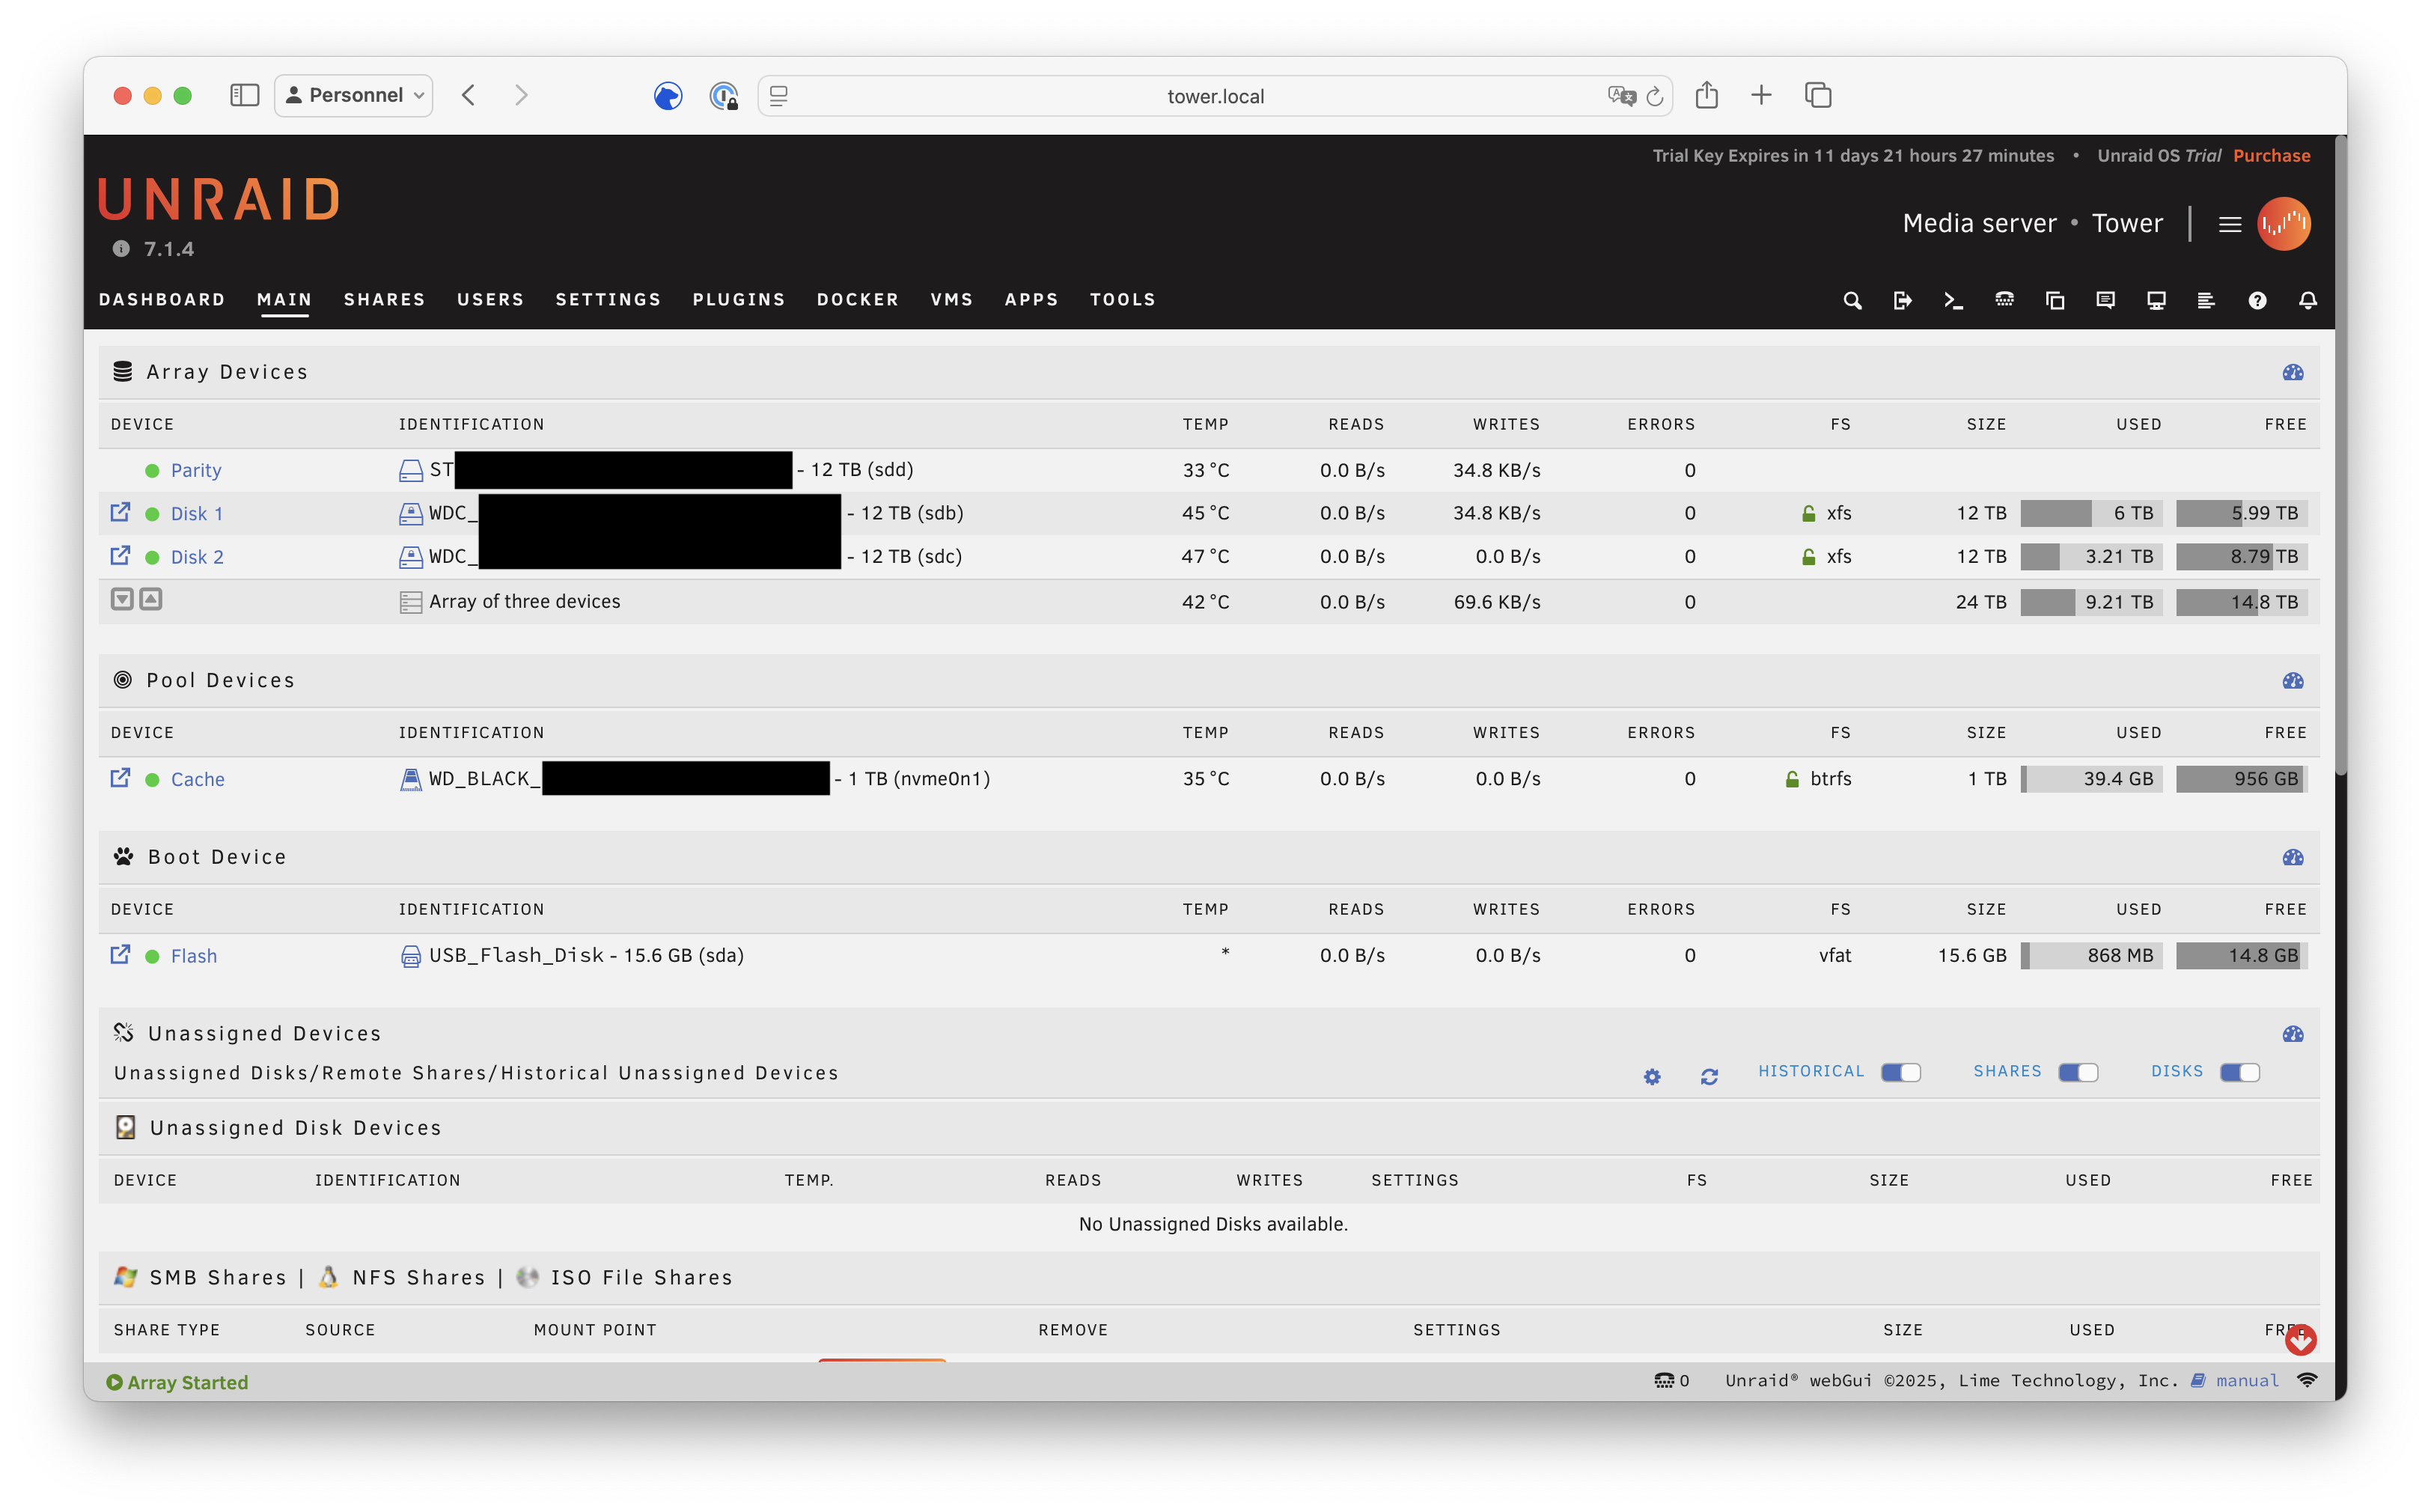
My storage configuration is:
Array:
- One 12TB HDD as the parity drive.
- Two 12TB HDDs as data drives, using the encrypted xfs file system.
Pool:
- One M.2 SSD as a cache, using the encrypted btrfs file system.
Migrating from Synology
My Synology had two 12TB hard drives configured in a SHR with data protection (equivalent to RAID 1 pool. My plan was to remove one drive after the migration and install it in the new NAS. The Synology would then be left with a single drive and only use for backups.
Synology’s SHR with data protection (equivalent to RAID 1) cannot be directly downgraded to SHR Without data protection(equivalent to RAID 0). I followed these steps:
Step 1: Install both new hard drives into the Unraid NAS. Configure the array to be 4 slots, set both drives as data disks and using no parity drive for now.
Step 2: Transfer the data from the Synology NAS to the Unraid NAS. For specifics on how to do this, you can refer to this guide: Tutorial For Fast Data Migration From FreeNAS to Unraid? – General Support – Unraid
Besides rsync mentioned in the post, you can also use the built-in file manager in the Unraid web UI or a third-party tool. However, I personally don’t fully trust using such tools for bulk file transfers.
Step 3: Deactivate and remove one of the hard drives from the Synology’s storage pool. The pool will then enter degraded mode. By default, the system alarm will sound; you can go into the Control Panel to mute the alarm.
Step 4: Install the hard drive removed from the Synology into the Unraid NAS and configure it as the parity drive.
Step 5: Delete and recreate the storage pool on the Synology. If you don’t mind, you can also just let the Synology pool run in degraded mode.
If you prefer, you can move Step 4 to before Step 2. However, this would reduce data security, because if you don’t have an additional backup, all your data would exist in only a single copy during the migration process.
References
[2] New UI mover move files from cache -> array – General Support – Unraid

发表回复/Leave a Reply