Contents
中文版:告别H1B焦虑 – 加拿大Express Entry技术移民全流程指南 – Frank’s Weblog
In 2023, I began considering Canada’s Express Entry after failing the H1B lottery three times. After a challenging two-year journey, I finally became a Canadian Permanent Resident in 2025. This article details the entire process of applying for and receiving Canadian PR from abroad through the Express Entry French language category.
This article serves only as a sharing of personal experience and does not constitute legal advice. My application took place in mid-2025, and the information may become inaccurate over time. If you have questions regarding your application, please refer to the official websites of relevant departments or hire a Regulated Canadian Immigration Consultant (RCIC) for consultation.
What is Express Entry?
Express Entry (EE) is the most mainstream, convenient, and efficient pathway for skilled immigration to Canada. The way it works is to score applicants via the Comprehensive Ranking System (CRS). The main metrics include age, education, language, and work experience. Typically, every two weeks, Immigration, Refugees and Citizenship Canada (IRCC) conducts draws. A cutoff score is determined based on the score of candidates in the pool and the number of profiles they intend to invite. Applicants meeting this score receive an Invitation to Apply (ITA) and submit their application. Most EE applications receive a decision within 6 months.
The Current Status of Express Entry
Since the Federal Skilled Worker (FSW) program only requires one year of non-Canadian work experience and language scores, it looks very appealing. So, can I apply for PR directly from abroad even if I have never been to Canada? Yes and no. It was possible in the past, but starting from 2024, due to social issues arising from excessive immigration and temporary residents, Canadian immigration began to tighten rapidly. FSW and “General” draws have been paused since the last draw in April 2024 (#294). Currently, the only pathway for overseas applicants is through category-based draws. Common categories are French language proficiency, healthcare, and education.
Preparation
After deciding to pursue Express Entry, you first need to clarify which program’s basic requirements you meet, collect relevant information for creating the Express Entry profile, and use a CRS calculator to calculate the score: Express Entry: Check your score – Canada.ca
Express Entry has four categories, the most common ones are Federal Skilled Worker (FSW) and Canadian Experience Class (CEC). In most cases, FSW applies to applicants with (only) non-Canadian work experience, while CEC applies to applicants with work experience in Canada.
Work Experience
When creating the profile, you need to determine your Primary NOC. You need to fill in basic information for each work experience, but no need to provide proof at this stage. However! Relevant supporting documents will be required when filing the application.
English/French Scores
Available English tests include IELTS, CELPIP, and PTE. I personally believe that if you have lived in an English-speaking country, CELPIP is the easier to get a high score. If you want to pursue the French category, you need French scores of CLB/NCLC 7 in all four skills. Only one language score is needed for creating the profile, but French combined with English scores can add 50 extra bilingual bonus.
I completed the CELPIP exam at the end of 2023 with scores of Listening 11, Reading 12, Writing 9, Speaking 9. To get CLB 10 to max out language points, I requested a re-evaluation for speaking and writing, and the scores after re-evaluation were 11/12/11/10.
Education Credential Assessment (ECA)
Any non-Canadian degree requires an Educational Credential Assessment (ECA) to be used in Express Entry, but only the highest degree needs to be assessed. Common assessments include WES and CES. If using a Chinese degree, an extra step involving CHSI (学信网) is needed, which may take 1-2 months to complete. US/European degrees are usually easier, simply order a transcript via Parchment and send it to WES/CES,it typically takes 15-30 days. The ECA is valid for 5 years. If using WES, ensure you apply for WES ECA, not the WES for school applications.
The spouse/partner’s education does not need an ECA if not claiming points.
Creating Profile
After completing the items above, you can create a Profile in the IRCC Online Service/GCKey[*] (commonly known as entering the pool). The Express Entry Profile consists of 6 forms: Personal details, Contact details, Study and languages, Application details, Representative, and Work history. It is pretty straightforward. After creating the profile, you can update your profile at any time based on the latest situation, such as updating language scores, adding/removing work experience, or adding/removing accompanying spouse/partner/children.
*: This system is called IRCC Online Service, but because it uses GCKey to log in, it is often referred to as GCKey.
In February 2024, after I got my CELPIP scores and reached three years of work experience, I entered the pool with 481 points.
After entering the pool, it was a long wait. At the time, the situation for EE and Canadian immigration as a whole was not as bad as it is now. For candidates without Canadian education and experience, to get an invitation via general draws, STEM category draws, or OINP HCP was completely feasible.
Not long after I entered the pool, two OINP HCP Tech draws occurred, but I missed them both because my score was higher than the upper limit. Unlike other programs, HCP invitations not only have a lower limit but also an upper limit, which is usually 1 point less than the score line of the previous EE STEM draw. And the previous EE STEM score line happened to be 481 points (#274), so the upper limit for two consecutive HCP Tech draws was 480 points. The original intention of this rule was to avoid conflict with federal programs, which is understandable, but it also caused a situation where some unlucky people could not get drawn for either federal or OINP.
Unfortunately, missing this meant missing the last train. In the following half-year, general draws, STEM, and HCP stopped inviting one after another. Not only the pathways for overseas applicants were blocked, but even CEC became competitive with high scores of 530+.

French
At the same time, the French category targeted invitations launched in mid-2023 continued to invite a large number of candidates in the pool. Amidst the shutdown of various programs, unless the candidates’ work experience qualifies other categories, learning French and obtaining CLB 7 scores became the only feasible way for most of FSW applicants overseas to get an invitation.
At the end of June 2024, after the first presidential debate between Biden and Trump, I realized the situation was not right and decided to learn French. While I was studying french, a lot of things happened: drastic changes occurred in Canadian politics, US election, Trudeau resigning, and so on. Learning French from scratch and reach CLB/NCLC 7 within 1 year is difficult but definitely doable. For my experience learning French, please read: Learning Languages Effectively with Anki – Frank’s Weblog.
In April 2025, after 3 attempts, I finally obtained CLB 7 scores in TCF Canada exam. The French scores added a total of 70+ points to my profile. After adding my girlfriend to the profile as common-law partner, the updated score reached 535.
Yes, one of the worst thing about CRS is that most applicants lose points when they apply with their spouse or partner. If I had no french bonus, even if I barely made the cutoff before, it would only be enough for a single application.
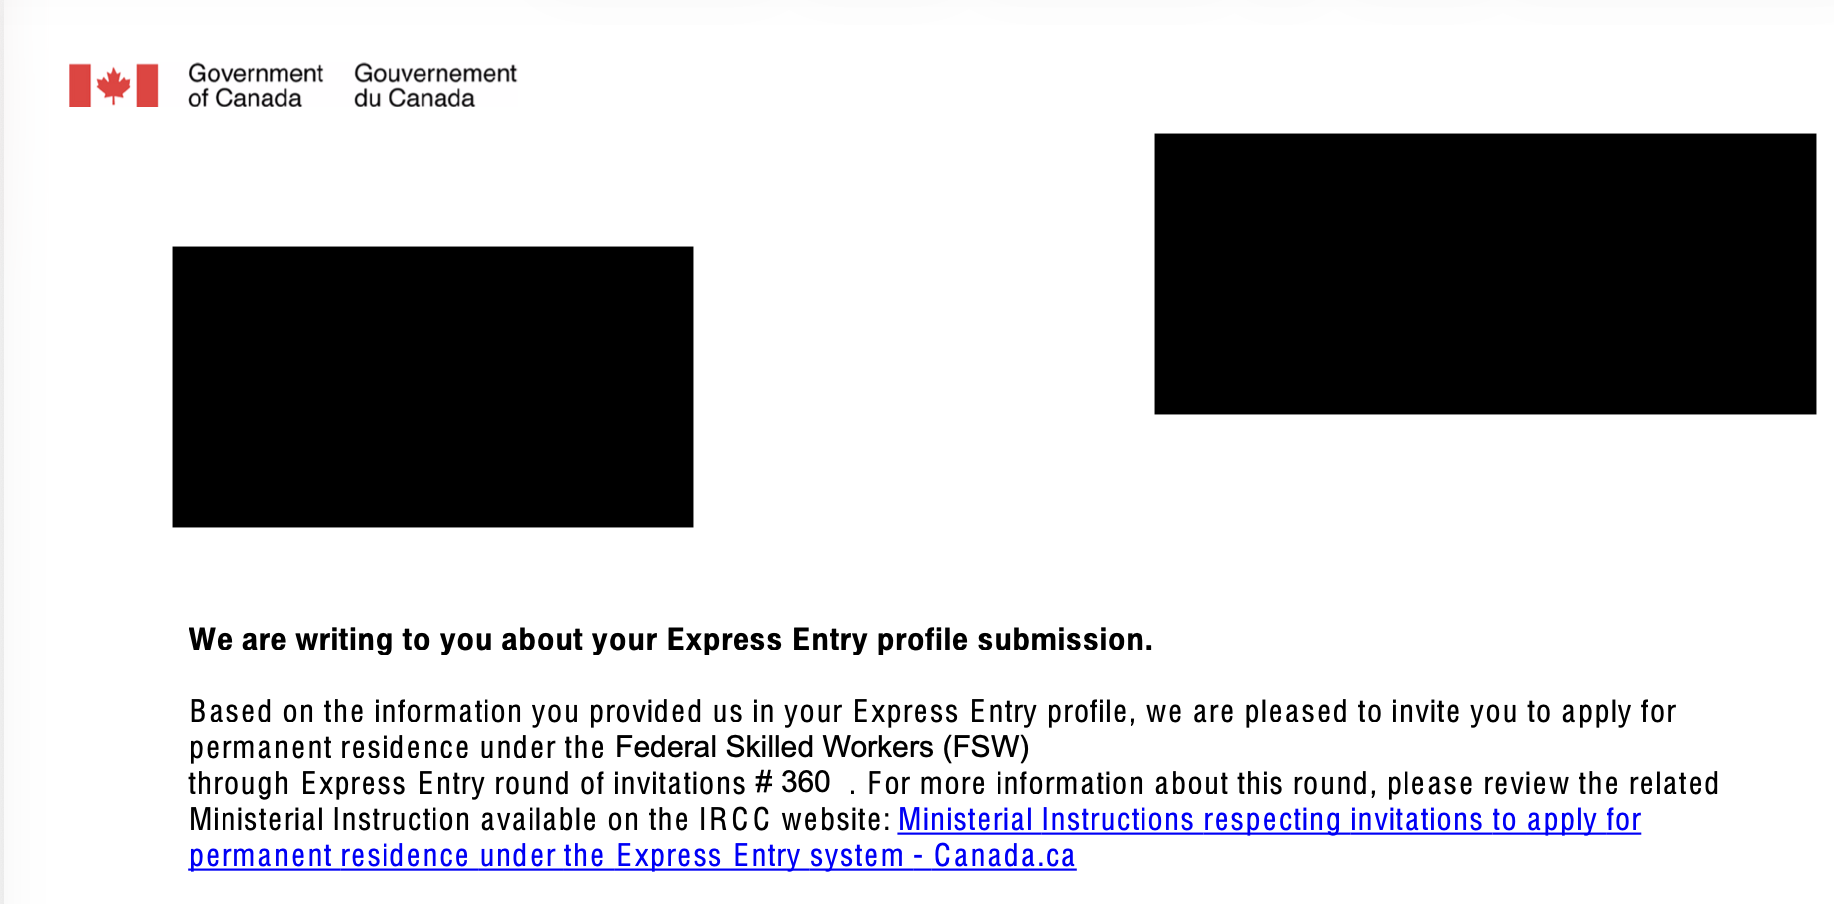
Finally, in August 2025, the French category issued the first invitations of the second half of the year (#360), inviting a total of 2500 Profiles, with a score of 481. One and a half years after entering the pool, I finally received the ITA letter.
Application
Usually, ITA letter is sent a few hours after the invitation occurs. At the same time, a new Permanent Residency application will appear in the Online Service/GCKey system, with two buttons next to it to continue or decline the invitation. The PR application must be submitted within 60 days after the ITA, otherwise it will be considered as declined.
The PR application has two parts: forms and supporting documents. The forms are similar to the ones in the profile, but with more details. The overlapping parts will be automatically copied from the profile forms.
After filling out the form, the system will generate a checklist of documents to be uploaded based on the responses in the form. For example, if the address history form indicates residence in a certain country for more than six months, a police certificate from that country will be requested subsequently.
Forms
Compared to the profile forms, the application forms ask for more details, but they are generally not difficult to fill out. The most complex contents are these two parts:
Address history needs to cover all residence history for the past ten years (or since age 18), there must be no gaps. Note that the address history should be consistent with other experiences in the application. For example, if attending school/working in a certain place during a certain period, or living with a Common-Law Partner in a certain place, the address history should be consistent with the location where these experiences occurred. If there are special circumstances, an explanation letter should be attached.
Personal history needs to cover all experiences for the past ten years (or since age 18), including education, employment, etc., there must be no gaps. If indeed in a “gap”, you need to fill in “Unemployed” and explain the details.
For all items in the application system involving multiple entries, such as address history or personal history, the system will not automatically sort by date. If they were filled out of order, the visa officer will see the same. To provide convenience for the visa officer, it is recommended to fill in order.
Documents
Employment Records
The core of the work proof is the employment verification letter. The letter needs to contain the following information. There are many templates online that you can search.
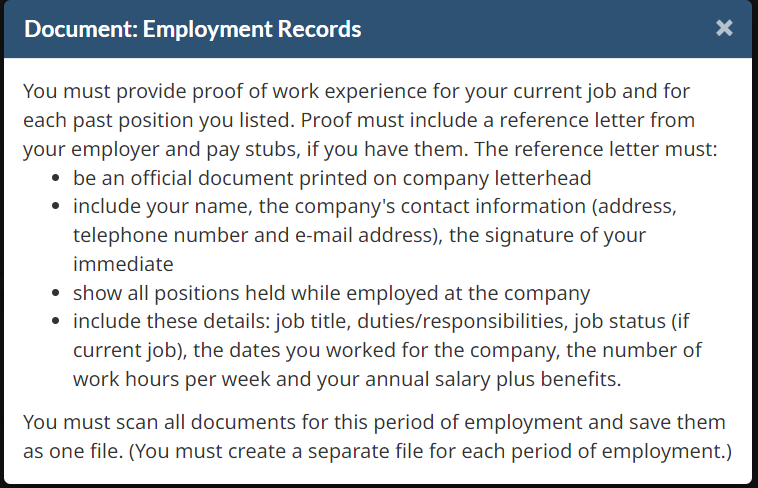
In addition to the employment verification letter, additional documents can be submitted as support, the most common ones include paystubs, tax forms, etc.
If there are special circumstances, an explanation letter can be attached to explain. For example, I have always worked remotely, and moved several times during that period. Also, several years ago our company used a PEO service, so the W2 and paystubs for that year were issued by this PEO. I wrote an explanation letter to clarify the discrepancies.
It should be noted that starting from 2025, IRCC’s scrutiny of work experience outside Canada has obviously strengthened, so please be sure to provide as many proof as possible to comprehensively prove the authenticity of the work experience, and proactively explain any places that look abnormal.
Another pitfall is that the duties and requirements for some professions are different in China and Canada, causing some common practices in China, such as engaging in a certain job without a corresponding degree, to look anomalous to visa officers. This situation must be handled carefully. In some unlucky cases, if the visa officer has doubts about the work experience, they may reject it without issuing a Procedural Fairness Letter (PFL). If you are not sure, it is recommended to consult an immigration consultant.
Proof of Means of Financial Support
The purpose of the proof of funds is to prove that the applicant has sufficient funds to support their family’s settlement in Canada upon arrival. IRCC has very detailed requirements for proof of funds: Applications for permanent residence programs subject to the Express Entry completeness check – Canada.ca
According to the latest requirement in 2025, the fund required for a family of 2 is CA$19,001. The average balance in my Checking account did not meet the requirement, so in addition to the Chase Checking, I also submitted a Discover Saving account. Also, liabilities also needs to be disclosed, I chose a credit card that I used most often and submitted the statements for the past six months.
For each bank account, you need to contact the bank to obtain a letter in the above format. Chase Bank can print a Deposit Account Balance Summary at any branch. For online banks like Discover, you can only call or contact customer service to get it. Discover cannot send it electronically, so you have to wait for the mail to arrive.
Finally, make a table listing the balances of Checking, Saving, and credit cards for the past six months, and calculate the balance of Checking + Saving - Credit Card, pointing out that the balances for the past six months were all higher than the IRCC fund requirements. Finally, combine the table, bank letters, and statements for the past six months for each account into one PDF.
It should be noted that IRCC values liquid assets that can be withdrawn at any time. Generally speaking, it is not recommended to use brokerage accounts for proof of funds. Moreover, brokers may not be able to issue bank letters that meet the requirements. For example, I was told by Fidelity customer service that they cannot customize the balance letters because Fidelity is not a bank.
I would highly recommend everyone living in North America to put the emergency funds into a High Yield Saving Account, instead of a brokerage account, for any potential circumstances that requires a proof of funds.
Maple: Should I only declare selected accounts to meet the requirements, or all accounts I own?
 Maple: Should I only declare selected accounts to meet the requirements, or all accounts I own?
 Scarlett: From the original text “For proof, you must get official letters from any banks or financial institutions where you have an account” on the IRCC website D
Police Certificate
The police certificate is very important. If the police certificate is missing or does not meet the requirements, the application will be returned because it fails the R10 completeness check.
China Police Certificate & Notarization
The Chinese police certificate /no-criminal record consists of two parts: the certificate itself and its notarization.
The police certificate itself is simple, it can be requested online in the majority of regions. Using Beijing as an example, use the “Beijing Police”(北京警务) mini-program(小程序), select “Non-criminal Record Certificate”(无犯罪证明) on the homepage, and select the birthday as the start time. Then, do the facial validation and submit, you can receive the PDF version approximately the next day.
The notarization is slightly more complicated. Due to a surge in returned application due to non-criminal certificates in 2024, the most common and safest practice is to do both the ‘notarization of fact’ (two pages) and the ‘notarization of the certificate’ (four pages), and submit with the original color copy. If you are not able to travel to China, you may authorize a family member or a professional agent to handle this on your behalf.
USA Police Certificate
The official name of the US police certificate is Identity History Summary Checks (Rap Sheets). First, go to the FBI website to fill out a form and submit an application, and then you need to submit fingerprints to the FBI.
If you live in the United States, you can go to USPS to submit fingerprints electronically. The fee is $50, but it is very fast, and you can receive the results on the same day. However, be aware that USPS machines may struggle if your fingerprints are relatively shallow. I failed nearly 10 times at the first USPS location, and the clerk wouldn’t let me continue trying. I went to another post office the next day. Although only half of the fingers were qualified (shown as green), FBI still accepted it. I received the email that the fingerprints passed just as I walked out of the USPS, and received the certificate later that day.
If it fails consistently at USPS, you can also try using a third-party Live Scan agency. Third-party agencies use different machines, and it may be more likely to pass. I heard that some police stations also offer fingerprinting, though they may not support electronic transmission.
If you do not live in the United States, or cannot successfully collect fingerprints electronically, you need to print fingerprint cards and mail them to the FBI. Please consult people with relevant experience for specific practices. This method will require a longer time, so be sure to start as early as possible after receiving the ITA.
Common-Law
Canada recognizes Common-Law relationships in immigration and other federal affairs. When applying for PR, you can apply together with your partner. When applying for non-immigrant visas, you can also apply for corresponding visas for your partner.
Canada’s definition of Common-Law Partner is:
You can sponsor the person as your common-law partner (any gender) as long as you’ve been living or have lived with your partner for at least 12 consecutive months in a marriage-like relationship.
The problem that needs attention here is that the first form when creating the profile asks for marital status, and the options are Single, Married, Common-Law, etc. If you and your partner are unmarried but already meet the Common-Law requirements, you must fill in Common-Law here, regardless of where you are from, where you live, and whether your partner is applying for PR with you.
A mistake many people make is: “I am unmarried and come from/live in a country that does not recognize Common-Law, so I can fill in Single here.” This is wrong. This will not affect this particular application, but if you want to sponsor your partner for PR or visa in the future, it will cause great trouble, so be sure to fill it in truthfully.
It should be noted that regardless of whether the spouse/partner is accompanying, the spouse/partner’s police certificate and medical exam must be submitted. If your spouse/partner is inadmissible due to medical or criminal reasons, yourself will also be considered inadmissible, even if the spouse/partner is not accompanying.
IMM5409 Statutory Declaration of Common-Law Union
This form needs to be filled out, and signed by both parties in front of a notary public. If you live in the United States, you can use any notary services available. We first went to a nearby Chase Bank, but the bank’s notary said they could not sign on this form and needed to attach a separate piece of paper. Then, we went to a nearby UPS and got it done very quickly.
If you live in China, you usually need to use Canada’s online notary service. I don’t know the specific situation, please consult people with relevant experience.
Love Story
The purpose of the Love Story is to tell the origin and development of your relationship to prove cohabitation in a “marriage-like relationship”. Love Story does not have a fixed template and can be written freely. In my opinion, the core lies in the following points, which should be ensured to be covered:
- The origin and development of the relationship.
- How both parties participated in major events in each other’s lives, such as education, work, moving, cohabitation, property purchase, etc.
- The relationship is recognized by both parties’ social networks.
- Joint contributions to life in finance and daily life.
If you still have no clue, you can refer to Part C of the IMM5532E form, but there is no need to strictly follow these questions to write.
Supporting Documents
Supporting documents are used to prove that both parties lived at the same address during this period. Note that the quality of materials is more important than quantity. Prioritize documents from government, residential lease, bank, and insurance. If there are enough these documents, it is sufficient. Only consider using shopping receipts, chat records, and other supporting materials if you cannot provide enough. If you submit hundreds of pages all at once, the visa officer will have a headache looking at it, and, how to compress these things into a 4MB document is also a challenging work.
We submitted the following, a total of 36 pages.
- IMM5409 form
- Love Story and 10 photos
- Driver’s licenses with the same address
- Lease agreement
- Car insurance
- Renters insurance
- Life insurance listing the partner as a beneficiary (this is the company’s insurance, I submitted the form exported from ADP since there’s no formal document)
Upfront Medical Exam
Between October 2023 and August 2025, IRCC did not require upfront medical exam for Express Entry applicants, but to upload a blank document and wait for the medical exam letter after submitting the application. In August 2025, IRCC began to require upfront medical exams again. If the medical exam receipt is not submitted in the PR application, the application will be considered incomplete and returned.
First, you need to find a local Panel Physician on the IRCC website. If you live in the United States, many states may only have 1-2 Panel Physicians, and some states may not even have one. The price is about $500 per person, and insurance is not accepted. If there are very few Panel Physicians around you, it is best to start preparing for the medical exam immediately after receiving the ITA. Because the medical exam must be completed within 60 days after the ITA, start as early as possible to avoid delay.
We were relatively lucky to have a Panel Physician locally, and it was not difficult to make an appointment. Unluckily, we had COVID before the originally scheduled medical exam, so we had to postpone it for a week. We were still coughing when we went for the medical exam. We told the doctor about it and it had no effect on the medical exam results.
After the medical exam you will get a receipt. Simply upload this receipt to the PR application. The doctor will later upload the medical exam results directly to IRCC. The medical exam results are valid for one year, starting from the date IRCC receives the medical exam results. The validity period of the medical exam is also the validity period of the COPR and the immigrant visa, which means that the expiration time of the medical exam is the final deadline for landing.
Photos
Canada has strict requirements for PR photos. Find a photo studio around you that can take passport and visa photos, print out the Specification from the IRCC website in advance, and show it to the photo studio. I strongly advise against going to places like Walgreens that take US passport photos, as they are unlikely to meet the requirements.
We found a local photo studio specializing in ID photos. I asked for one electronic copy and two paper copies. The electronic copy is for uploading in the application, and the paper copies are mailed with the passport when stamping the visa.
Submission
After everything checks out, go ahead submit the application and pay the fee.
I strongly suggest that everyone who DIYed the application to hire an immigration consultant to review the application before submitting. Additionally, even if there is an option to pay the RPRF (Right of Permanent Residence Fee) later, I would recommend paying it together when submitting the application to avoid extra steps and potential problems. We had a friend who paid the fee but failed to upload the receipt, and their application was unfortunately rejected because of missing the 7-day deadline.
Biometrics
Some time after the application is submitted, you will receive a Biometric Instruction Letter (BIL) that instruct you to do fingerprinting. If you live in a country other than the United States and Canada, simply follow the instructions in the fingerprint letter to make an appointment at the nearest Visa Application Centre (VAC, usually operated by VFS), it is very simple and fast.
If you live in the United States, you can go to a VAC or USCIS Application Support Center (ASC) for fingerprinting, but there are only two VACs in the United States, in New York City and Los Angeles, so the vast majority of applicants still need to go to an ASC.
The main challenge with the Application Support Center (ASC) is that appointment availability is booked at least two weeks out. While some ASCs accept early walk-ins if you hold a future appointment, however this varies by location. You can search on social media to see if the ASC near you allows this. Fingerprinting must be completed within one month of receiving the biometric letter, so be sure to plan ahead. In the worst case, you can fly to the VAC in New York City or Los Angeles, or even Canada to complete the fingerprints. Since our timeline was not urgent, we attended our appointment at scheduled time. I am not sure if the fingerprints slowed down the application processing.
After the fingerprints are done, the Online Service/GCKey will show Complete within a few hours, and you typically need to wait until the next business day for the Tracker to turn green.
Adjudication Process
After the fingerprints are done, unless there’s an Additional Document Request (ADR), there is nothing else need to do. You might be curious, what happens in the IRCC office during this period of time?
R10 Completeness Check
After submitting and paying in the Online Service system, the system will automatically send an Acknowledgment of Receipt (AOR) letter, indicating that the application has been received.
Almost all categories of Express Entry applications will first be sent to the Centralized Intake Office (CIO), where the R10 completeness check are performed, and then distributed to the Primary Office for processing.
Receiving the biometric letter also means that the application has passed the R10 completeness check. At this time, the UCI will change from a string starting with CAN to 11 digit numbers. Usually, the medical exam status in Online Service/GCKey will turn to passed on the same day. In most cases, 1-2 business days after receiving the fingerprint letter, you can register for the IRCC Tracker.
Eligibility
Eligibility is the core of the adjudication. The application will usually first be handed to a Program Analyst or junior analyst for preliminary review, and they will give a recommendation of “Recommend Pass” or “Review Required”, and then handed to the visa officer for the Final Decision.
Usually, after the junior analyst has reviewed the case, Eligibility on the Tracker will turn blue, and it will turn green after the visa officer makes the final decision. For very few lucky applicants, these two steps may happen on the same day, which is reflected on the Tracker as turning directly from gray to green.
If the Eligibility status stays blue for a very long time, you can find out what happened to your application by calling IRCC or request ATIP GCMS Notes. The notes look like this: Can someone why it says Review Required for eligibility in GCMS Notes?: r/ImmigrationCanada. Of course, it is also possible that the junior analyst has already reviewed and marked Recommend Pass, but there’s no visa officer to process it.
If your application is marked as “Review Required” by the junior analyst, this does not mean that your application is in trouble. The junior analyst is just doing their job, marking anything they have doubts or do not understand. If the visa officer still has doubts, they will request additional documents (ADR). Of course, not all additional document requests are reasonable. I know a few people who had bizarre additional document requests, such as being asked the French score report even though they had already been submitted, and female applicants being asked the proof of exemption from military service.
Generally speaking, as long as the application has no fatal flaws, the vast majority of applications will eventually pass.
Background
Background checks mainly include Info sharing and Criminality, which every applicant must go through. In addition, based on the information in the application, the visa officer has the discretion to decide whether to conduct a Comprehensive Screening / Security Screening on the applicant.
Visa Stamping
When the application is approved, the Online Service system will show “Final decision in progress”, and the four items in the Tracker will all become Completed (four greens). Later, you will receive an email asking to send the passport for visa stamping.
If you live in the United States and are asked to mail your passport to CPC-O in Ottawa for visa stamping, please see: Sending Passport from United States to Ottawa for Canadian PR Visa Stamping – Frank’s Weblog
The vast majority of applicants will be asked to stamp the visa through a Visa Application Centre (VAC); please consult the local VFS for specific instructions. Generally speaking, VFS visa stamping is faster and more convenient than CPCO, but it will be slightly more expensive.
After completion, you will receive the passport with the immigrant visa stamped, and the CoPR. The application status in GCKey will change to Approved. Applicants living in Canada do not need to a visa stamp, but instead go through the Portal virtual landing process.
Landing and Settlement
Although the application has been approved, we have not yet become permanent residents of Canada at this time. To officially become permanent residents, we need to travel to Canada and complete “landing” at the border before the immigrant visa expires.
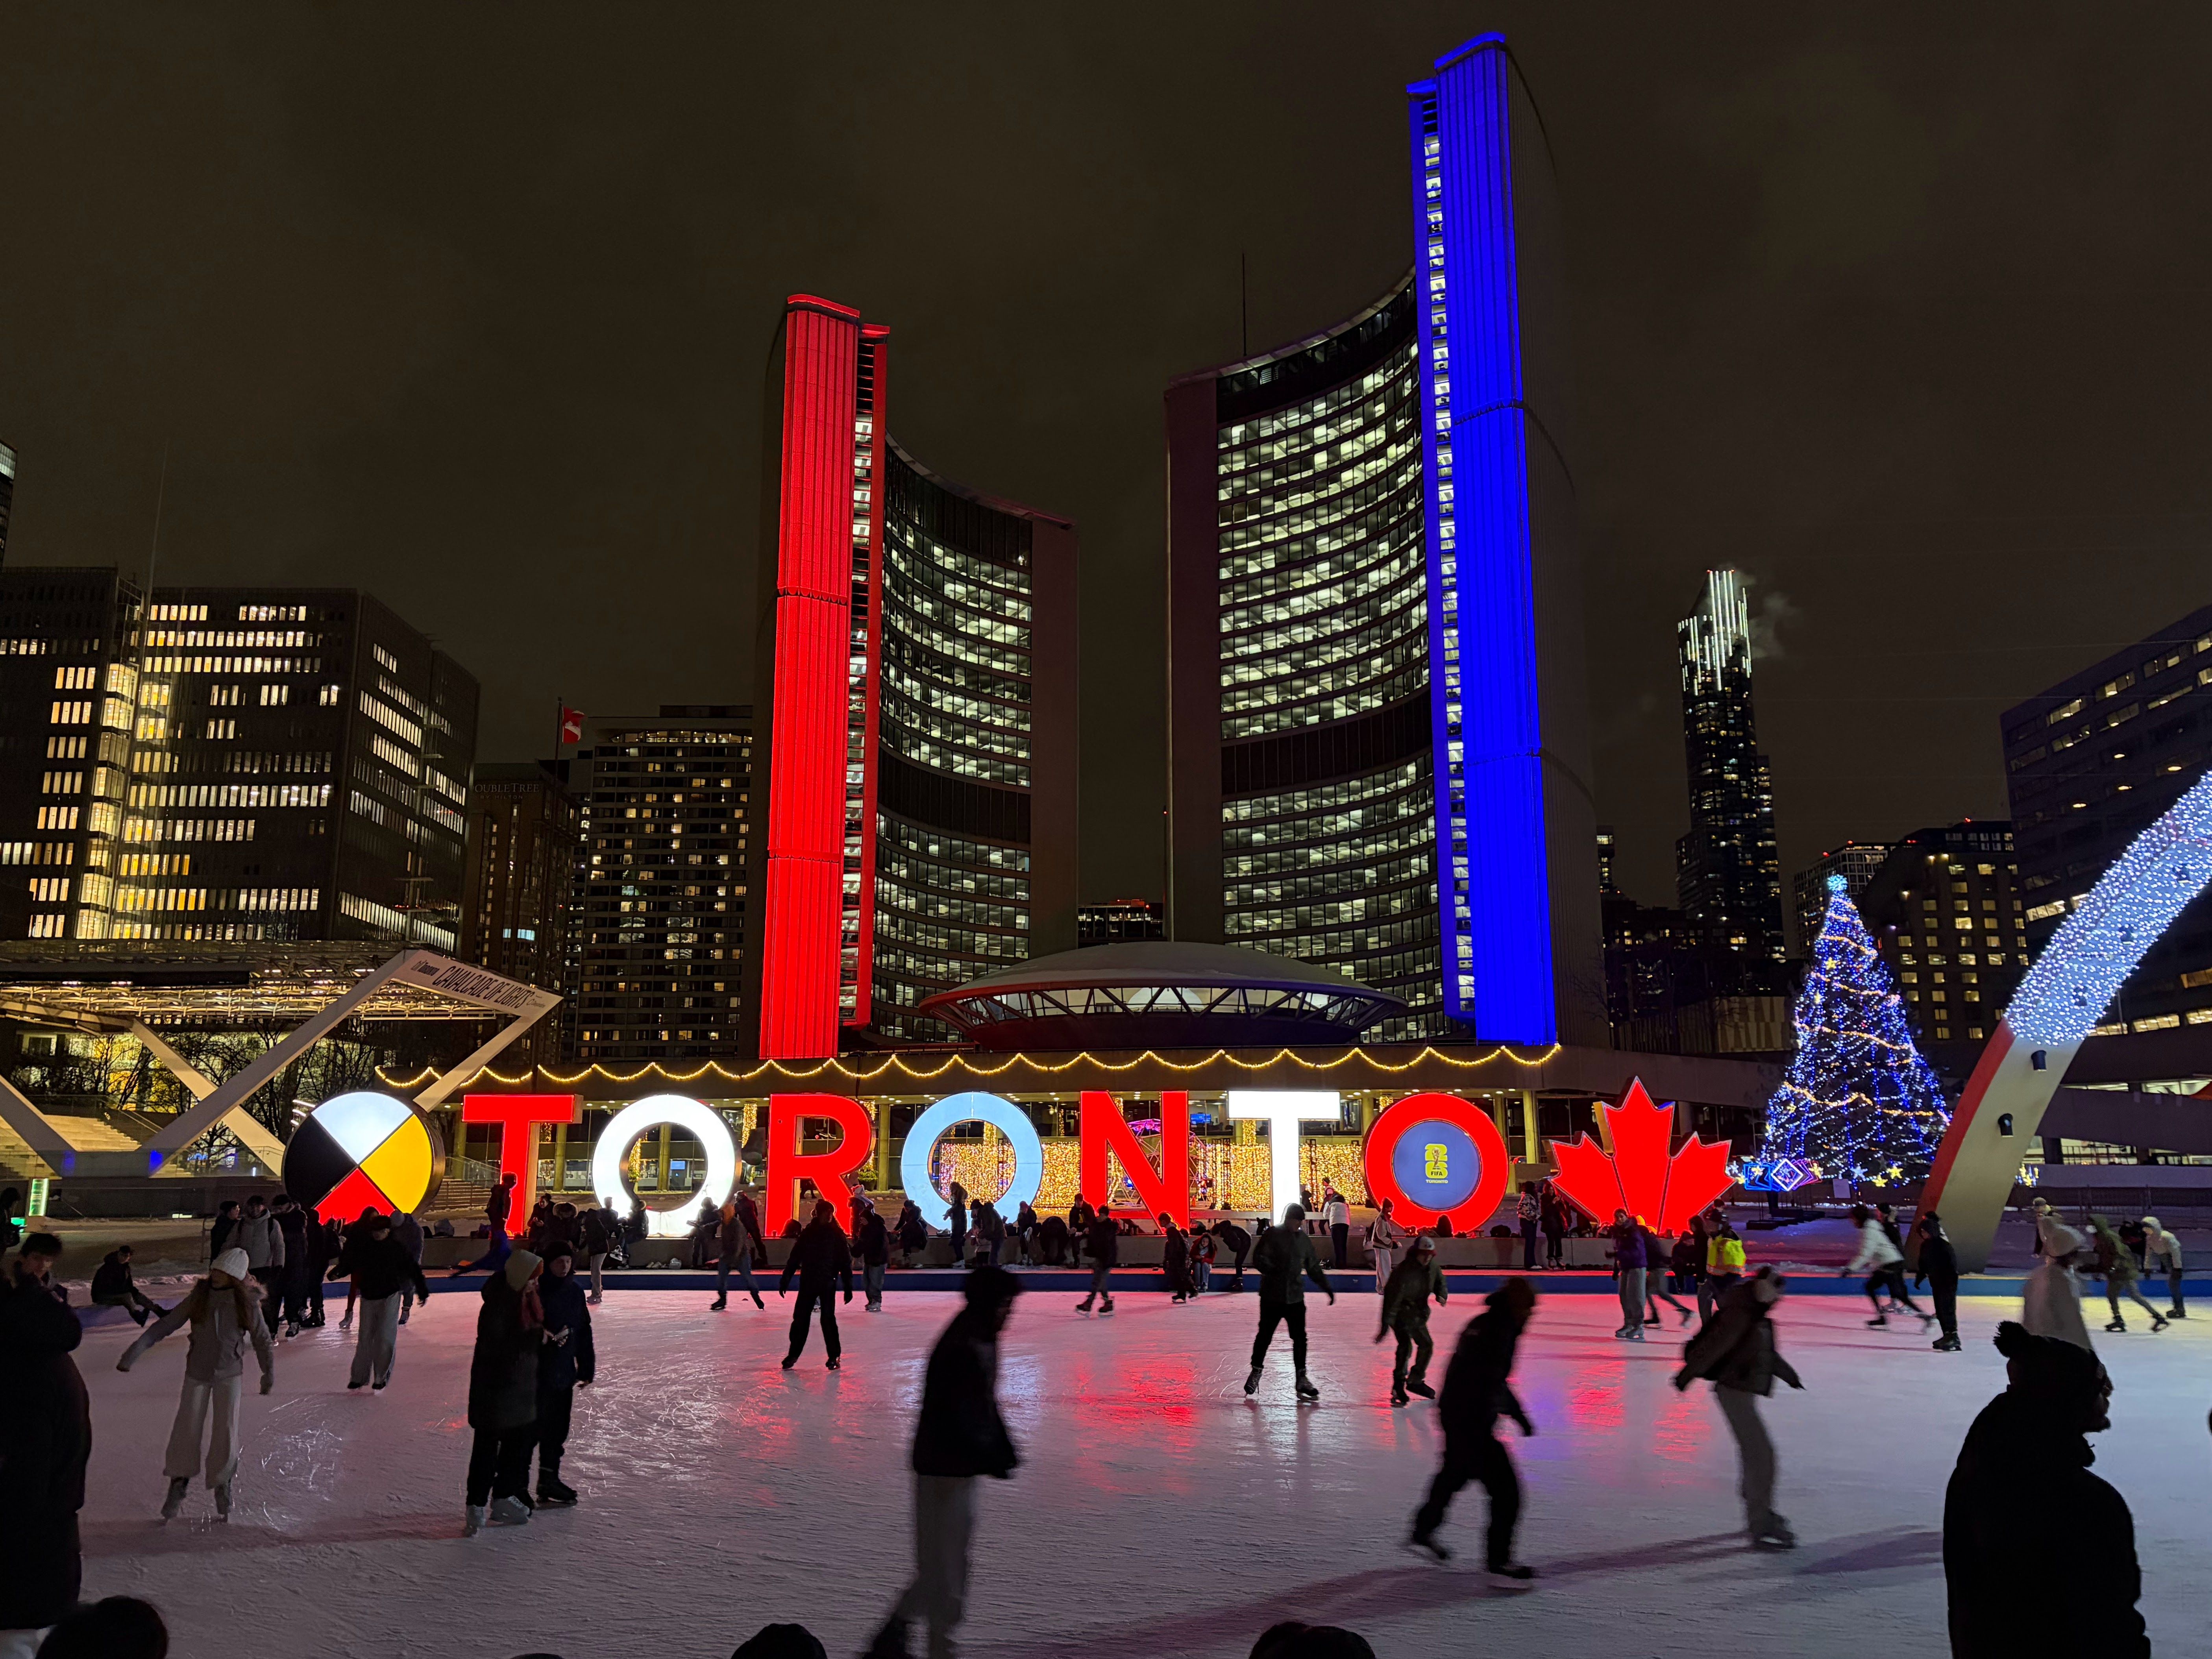
We landed at Toronto Pearson Airport in December 2025. The CBSA officer asked for a Canadian address to mail the PR Card and confirmed the questions on the CoPR (Dependents and criminal record). Then they needed some time to process the paperwork and asked us to have a seat and wait. When the broadcast called our names, we returned to the counter and signed on two copies of the CoPR. CBSA will take the copy with the photo, and we keep the other copy. The one-time immigrant visa on the passport will be crossed out, and the PR Card will be mailed to the address provided in a few weeks.
If you are not ready to settle down yet, you can also leave after completing the landing (commonly known as soft landing), but need to meet the residency obligation to maintain permanent resident status.
After completing all this, the officer said Congratulations, you are now permanent residents of Canada.
In the five years I’ve been in the U.S.—Trump’s first term, layoffs, no luck in H1B lotteries, PERM delay, and now a brutal economy and immigration policies. It’s been non-stop anxiety. In such deep waters, getting the Canadian PR finally gives us some much needed security.
Helpful Resources
I joined many groups during the french studying and application and talked with many great people. You can look for these groups on Rednote(小红书). There are many experienced people on Rednote, but there are also a lot of mis-information from (bad) agents, so please be careful.
My immigration consultant is very professional and knows well about of applying from the US. Her WeChat is Joytitude, and her WeChat official account(公众号) is JoytitudeCA.
My two French teachers helped me a lot in my French study, and I would recommend them to everyone.
Alexandre (italki) https://www.italki.com/en/teacher/7343323 Alex is French and currently lives in Shanghai. I started taking classes with him once a week from October 2024. At that time, I had just started learning French for 3 months, roughly at the A1-A2 level. Alex’s strength is that he will find suitable topics for each class based on your level and interests, which works well for beginners to start and improve. For example, we often discuss some new products of technology companies, cars, daily life, and later gradually expanded to society, politics, etc. He is especially familiar with technology and social topics. His English is fluent, and he knows some Chinese, so it won’t be a problem if your French is not good enough for conversation.
Nicolas (Preply) https://preply.com/en/tutor/5048285. Nicolas is French and currently lives in Thailand. I started taking classes with him after getting two 9s in the exam in January, averaging three times a week, focusing on exam preparation. His classes has relatively low price, he is familiar with TCF exam preparation, and has many students preparing for TCF, which is very suitable for sprinting for exam. Because the price is relatively low, you can increase the frequency of classes to create more immersive language environment.
References
加拿大枫叶卡 从申请到登陆 经验分享 | EE FSW Common Law – Mavis Meow’s Blog
Express Entry in a nutshell | Canada Immigration Forum

发表回复/Leave a Reply